Keeping up with my bread baking enthusiasm, today I have the most epic Italian bread for you all which is none other than focaccia! Focaccia is the most flavorful bread I have tried till date and thankfully it is very easy to make!
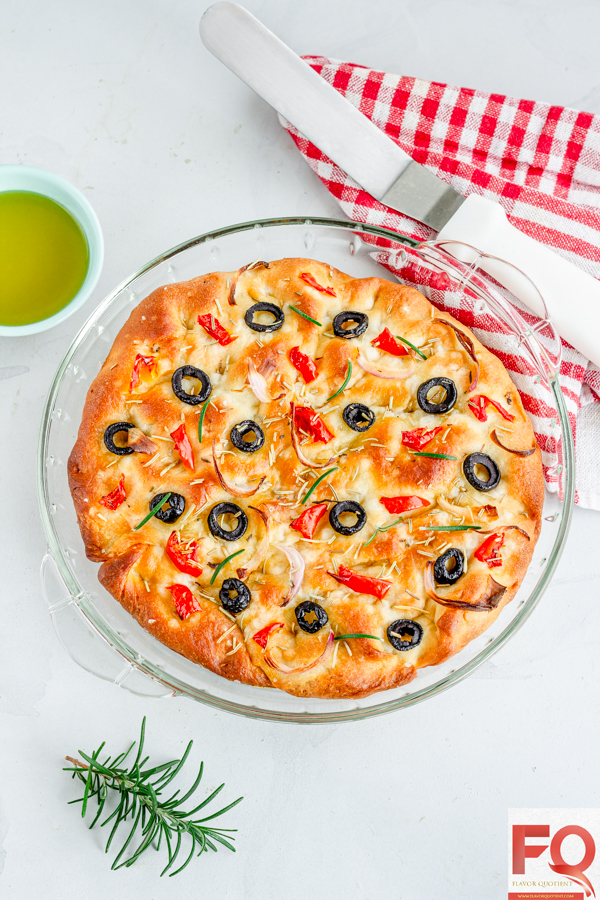 After cooking various dishes since years now, I still have a special emotional connect towards bread baking. Since the time I have discovered the joy of baking bread at home and have sorted my equation with yeast, it seems like I have opened the door to a vault of jewels!
Today I bring to you one such gem among many which is the epic Italian focaccia bread! Focaccia is simply an amazing bread which tastes immensely delightful on its own thanks to the toppings and the joyful flavor of olive oil.
While going through numerous recipe of focaccia to arrive at my own final version, I got to know that focaccia is best for beginner bread-bakers and I agree to that; I will come to why I think so. Oddly enough, I was always intimidated thinking of making focaccia at home and never considered it a beginner’s bread!
After baking numerous batches of sandwich breads, rustic breads and what not, finally I landed upon focaccia! And like all my other breads, this one is also handmade; absolutely no machine used!
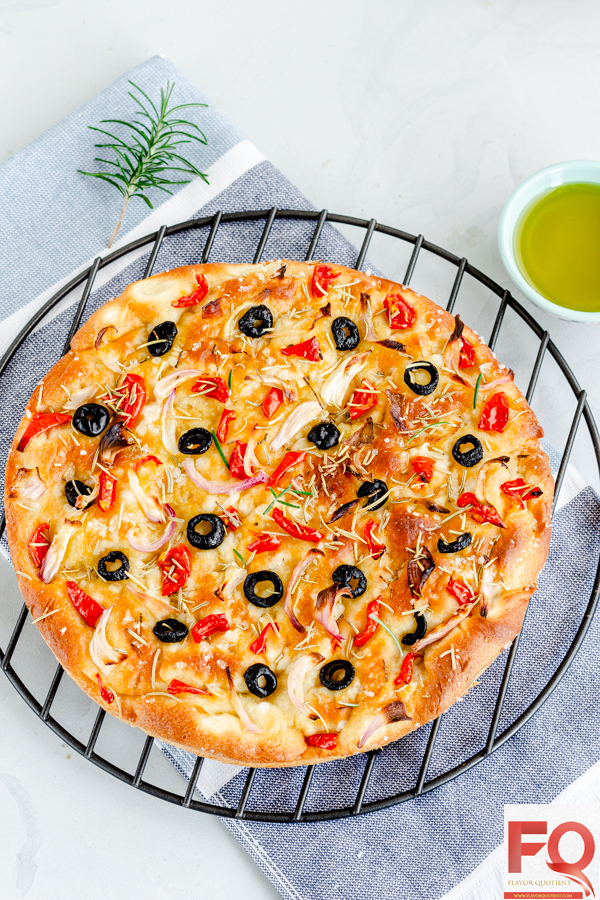
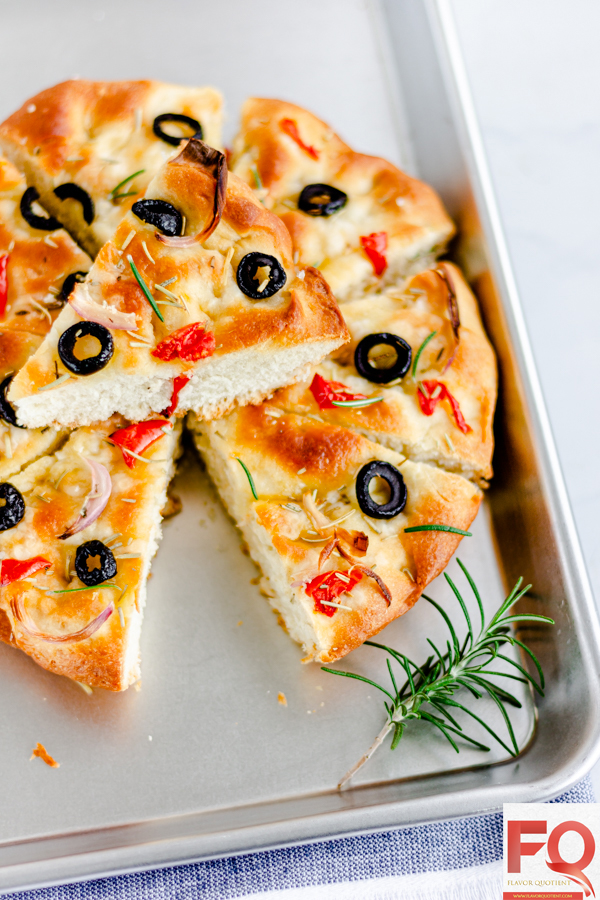
The reason focaccia is considered to be a beginner’s bread is that there is hardly any chance to go wrong with this one. Sometimes the sandwich breads or sour dough breads do not turn out exactly how we expect them to be; they either remain dense inside or do not become soft & fluffy.
Focaccia is a much easier one to tackle, thanks to the high amount of olive oil which ensures that your focaccia will turn out fluffy and remain soft even after couple of days.
Only important point I want you to take note of is to ensure that your yeast is not expired. I always proof my yeast in warm water with sugar before I initiate the bread baking process; this habit not only ensures that my other ingredients are not wasted due to bad yeast, but also saves me from a lot of disappointment.
If you are good with your yeast, I can guarantee that your focaccia will be a stunning piece of jewel and will prove to be a delightful show-stopper on your next house party!
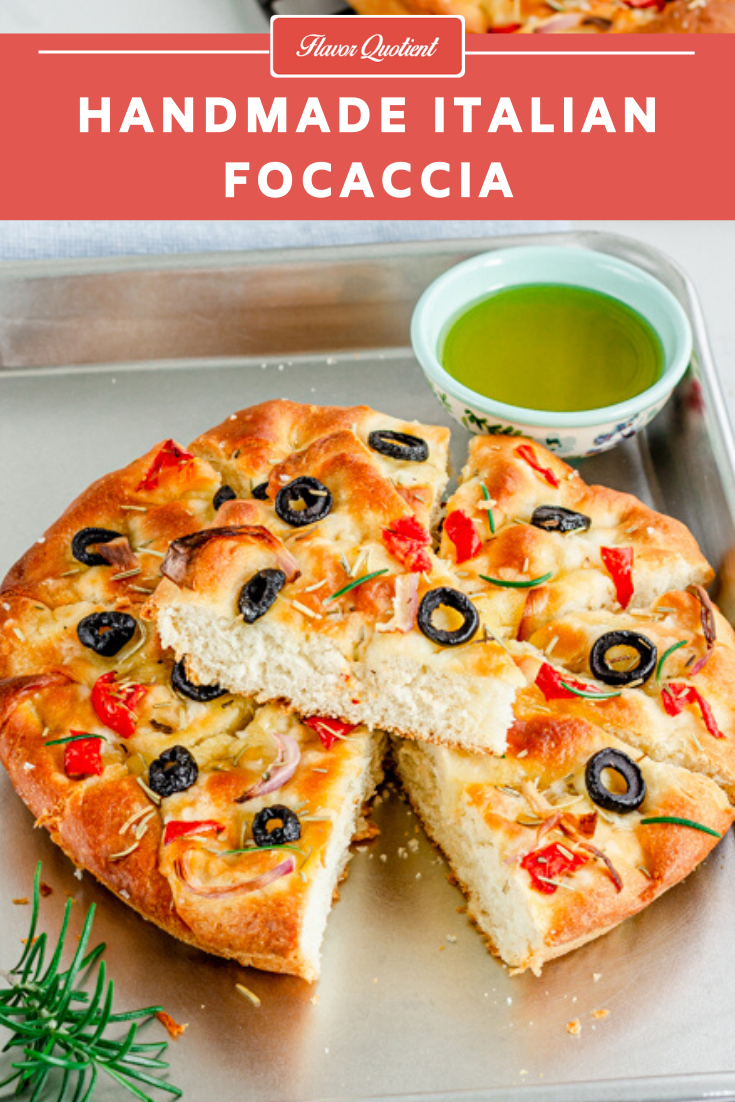
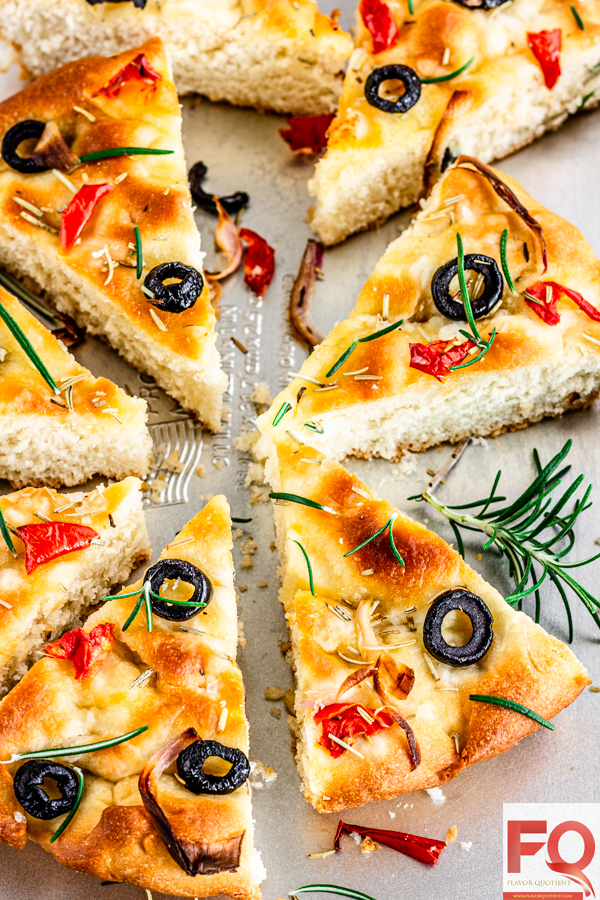 Focaccia is a unique kinda bread which you can tell from its beautiful look. The toppings on focaccia make it distinctly noticeable which is also the primary reason that this one is so well-loved across the globe.
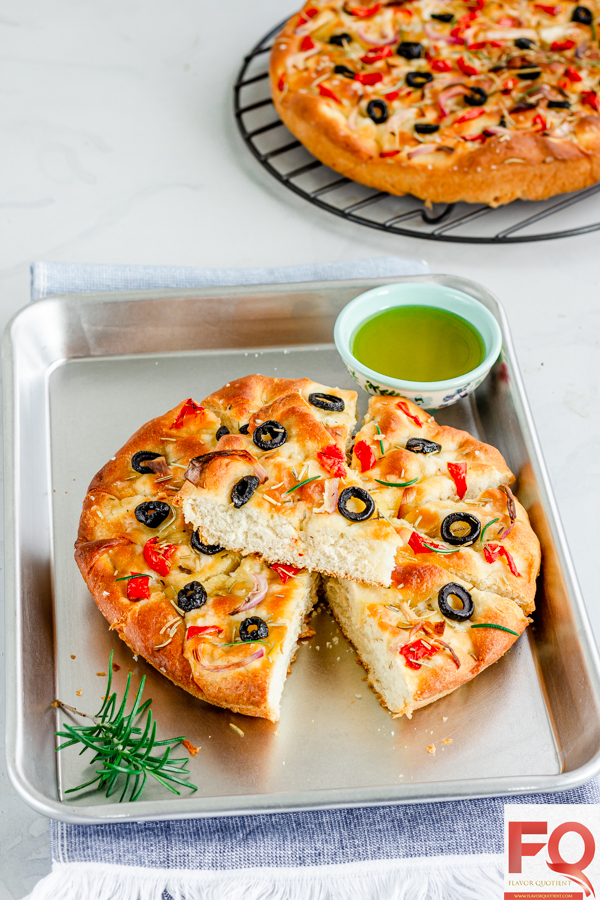
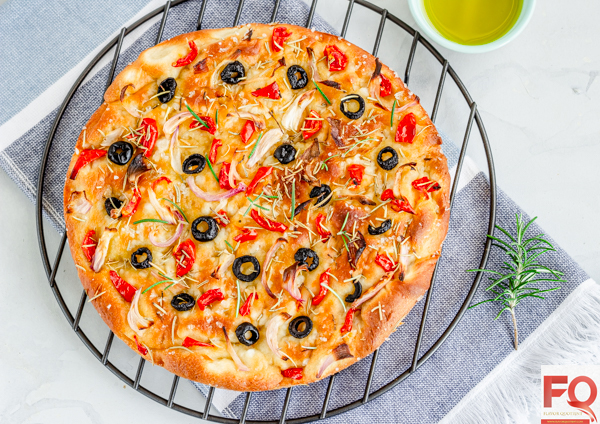
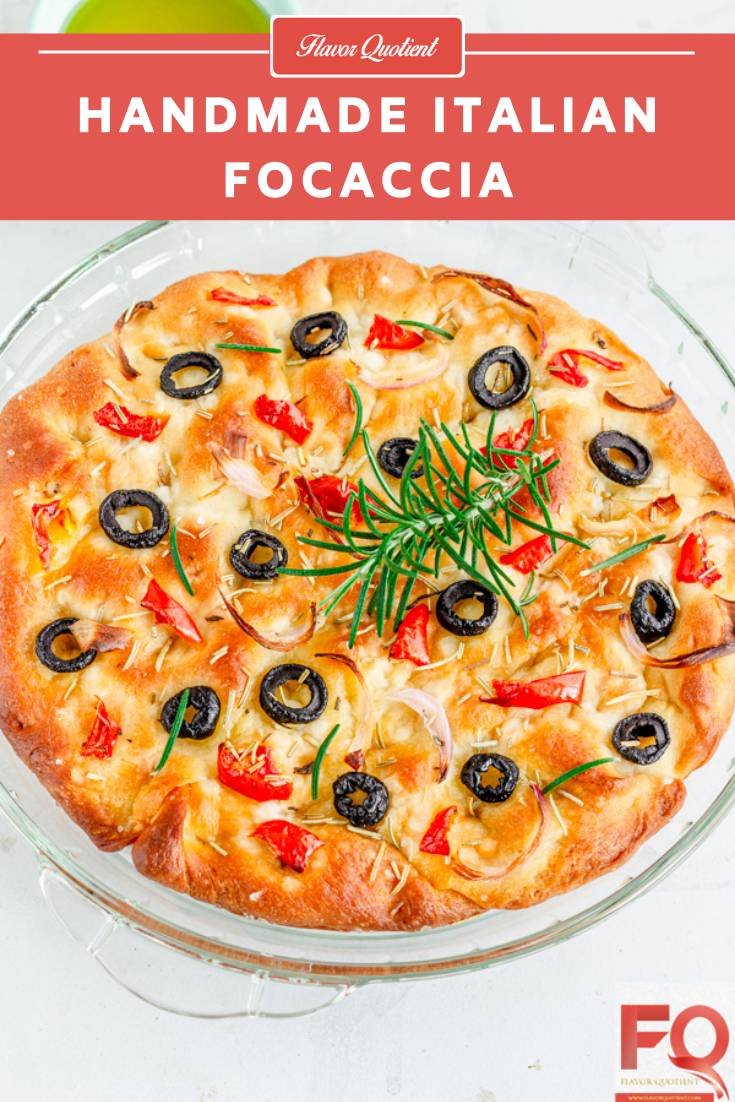
The classic topping on focaccia comprises of olives, rosemary and onion with sprinkles of flaky sea salt like diamond dust; so you can see that my focaccia is the classic one with a colorful addition of vibrant red tomatoes.
Since this epic Italian bread is nothing less than a piece of art with you being the artist, unlock your imagination and top up your focaccia with your choice of toppings and design. You will find numerous spectacular ideas on focaccia toppings on the net to draw inspirations from; mix in your own creative juice with it and make a signature focaccia in your own home kitchen!
I too have plans to make many more versions of this epic bread but only limited with time to make all of them a reality!
 Focaccia is mainly a flat bread but not like pita or naan as unlike these pan-cooked ones, focaccia is baked in oven. You can shape and bake focaccia in a shallow baking sheet which will give you a large surface area to play with your topping. Since it doesn’t rise too much, you shouldn’t have a problem using a baking sheet.
Do not worry about it being soft & fluffy; even if you make it in a shallow dish, it will come out super-soft and fluffy with minimal rising too; I made both the focaccia in pie plates. The trick is already in the dough and it’s easy to master it!
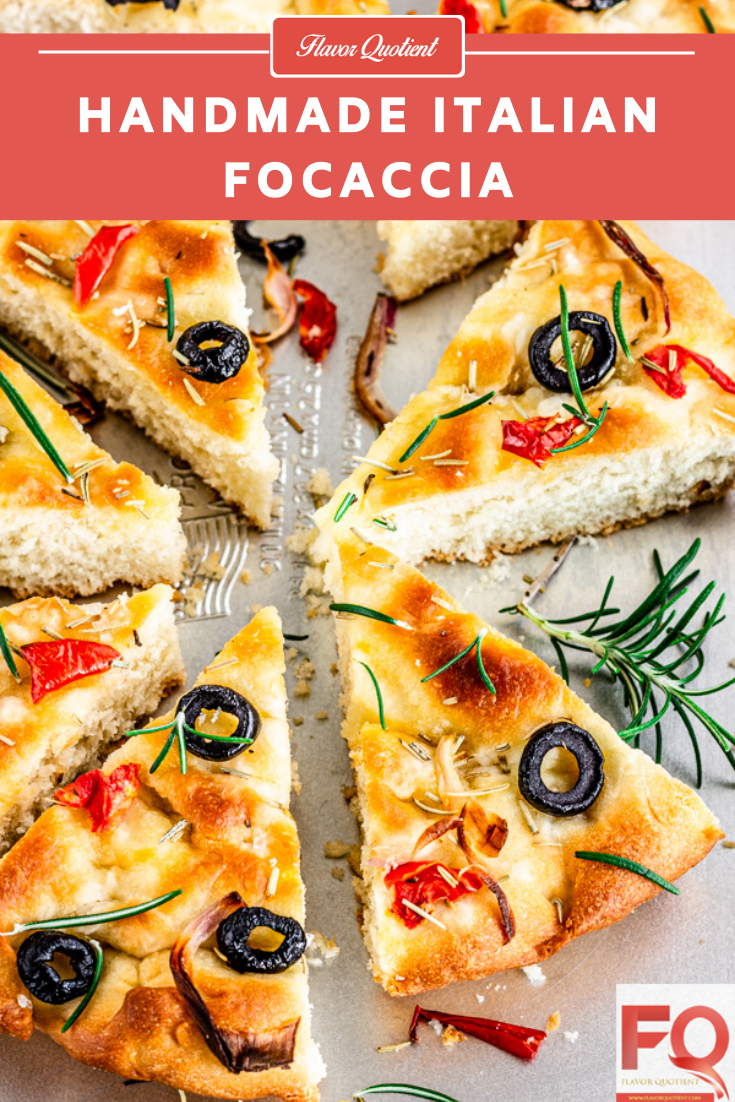
I strongly feel that focaccia is a multi-purpose bread in its true sense. You can cut them into small pieces, squares or triangles, and enjoy them on its own with a light drizzle of extra-virgin olive oil. Thanks to its thickness, you can also cut through the middle and make a hearty sandwich for your lunch-on-the-go.
In Italian cuisine, it is also served as antipasto, appetizer, table bread or snack. In whatever way you serve it, trust me you will love every bit of it! Just warm it up a little in case you stored the leftover in refrigerator and enjoy!
- All-purpose flour – 4 cups
- Active dry yeast – 2 & ¼ tsp
- Sugar – 2 & ½ tbsp
- Salt – 2 tsp
- Extra-virgin olive oil – ¼ cup + extra for brushing & drizzling
- Water – 1 & ⅓ cup
- Pitted black olives – 10
- Fresh tomato – 1, large
- Red onion – 1, small
- Dried rosemary – 2 tsp
- Sea salt – ½ tsp
- Take the water in a glass or bowl and warm it up to 100 F. The water should feel just hot when touched. If it feels too hot, wait till it cools down a bit. Best way to achieve the optimum temperature is to use a thermometer; ensure the temperature is not more than 105 F as that will kill the yeast.
- Add sugar to the warm water. Sprinkle yeast on top of water and give a gentle mix using a fork or spoon. Let the water stand for 5 to 10 minutes or until the top of the water becomes frothy. Your yeast is now activated.
- In a large bowl add flour and salt. Give a quick mix with a wooden spoon. Add the yeast-water mixture it to the flour along with olive oil.
- Start mixing the dough using the wooden spoon until the water is almost absorbed by the flour. Now tip the flour out on a lightly floured work surface and start kneading with hand. Continue kneading the dough until it is smooth and stops sticking to your hand, about 10 minutes.
- Drizzle a spoonful of olive oil on the same bowl in which you mixed the flour initially and place the dough in it lightly coating it with oil on all sides.
- Cover the bowl with a plastic wrap and let the dough rise at room temperature until doubled in volume which would take about 90 minutes in a warm environment. Meanwhile prepare 2 pie plates by coating the bottom surface with a tablespoon of olive oil in each.
- Once the dough has doubled in size, take it out on a lightly floured surface and deflate it. Then divide it in half using a bench scrapper or a sharp knife.
- Take each half of dough at a time and place it in one of the greased pie plate. Then start flattening it out using your fingers trying to make it even in thickness all over. Flip it once so that both the sides get coated in oil. Now loosely cover with plastic wrap and allow to rise until doubled again. Repeat the same with other portion.
- Preheat your oven to 200 C / 400 F and place the wire rack at the center of the oven. While the oven is preheating, prepare your toppings. Chop the tomato into small pieces, thinly slice the onion and slice each black olive into 3 pieces.
- Once the dough has risen, carefully remove the plastic wrap from top making sure not to deflate the dough. Top each dough with tomato, onion, olive and dry rosemary. Sprinkle sea salt and drizzle little more olive oil on top.
- Bake your focaccia in the preheated oven for around 20-25 minutes or until the top turns golden brown. Transfer them to cooling rack (essential to transfer them to cooling rack so that the bottom doesn’t turn soggy) and allow to cool slightly.
- Slice up and serve your warm focaccia with some more drizzle of extra-virgin olive oil! Enjoy!



Looks so delicious, I would like to try..
Thank you! Do try it! It’s easy and delicious!!
Sounds delicious! Cant wait to try this recipe. Thanks for this great recipe
Thank you! 🙂
Gonna have to try this! Thanks for sharing!
This looks great! Thanks for the recipe!
Thank you for the detailed recipe! Looks delicious!