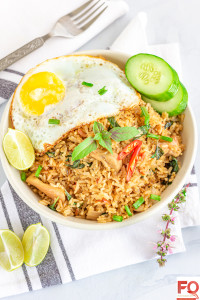
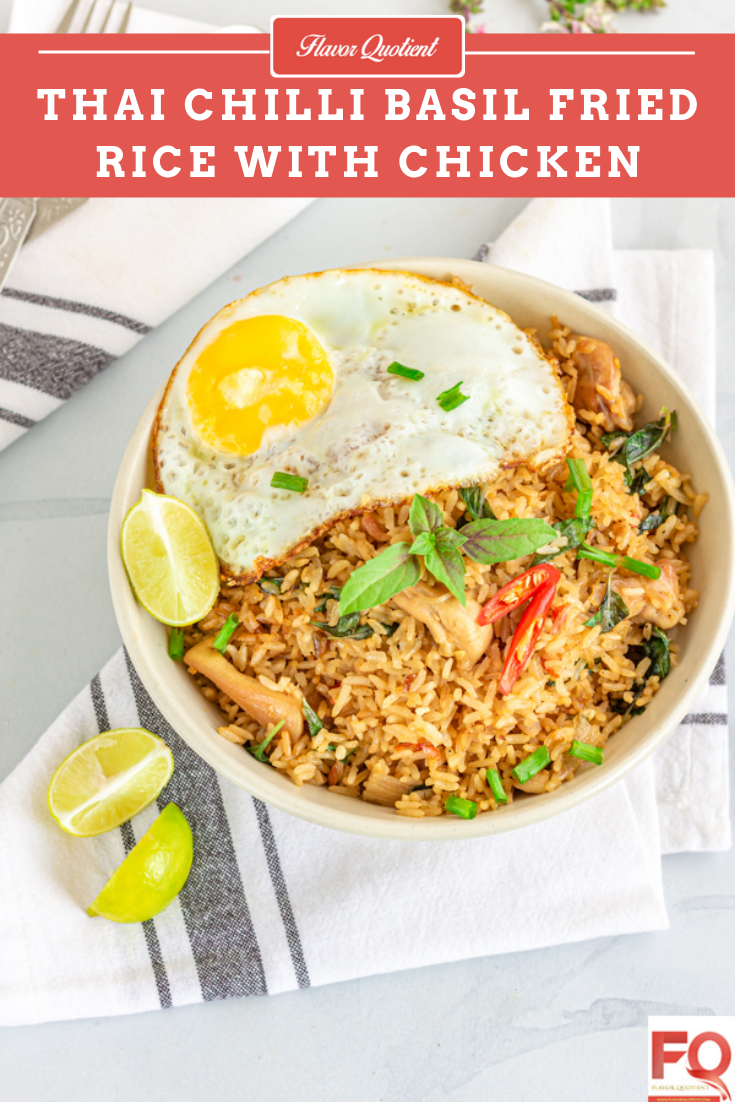
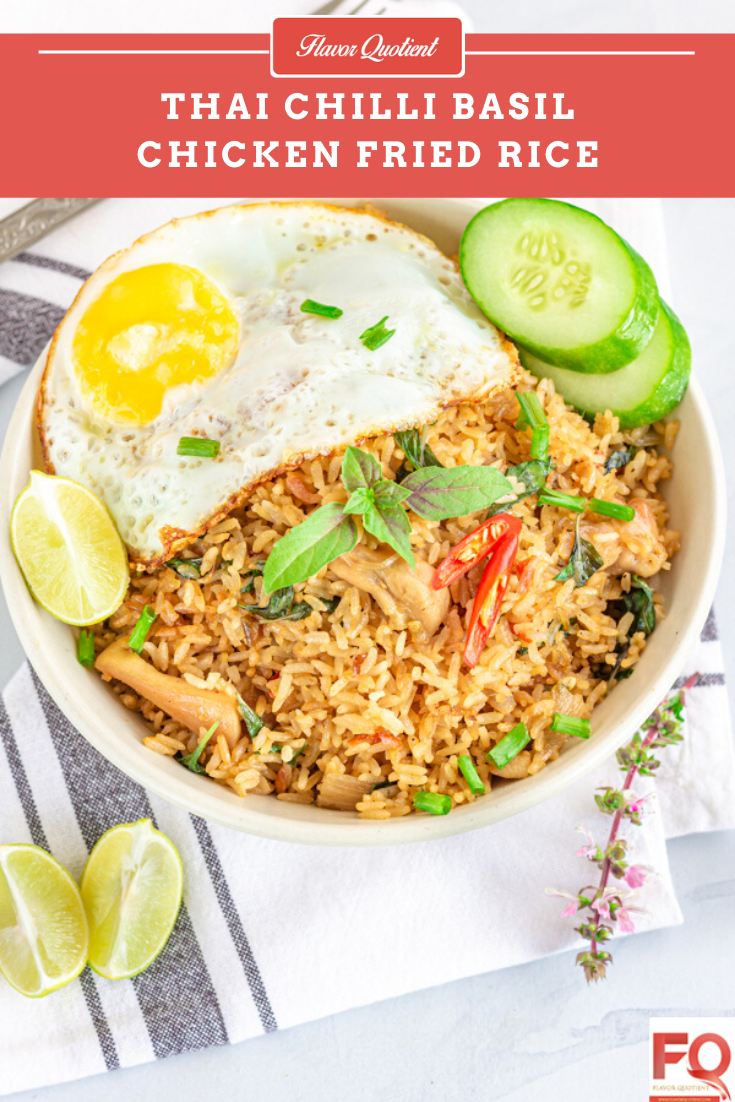
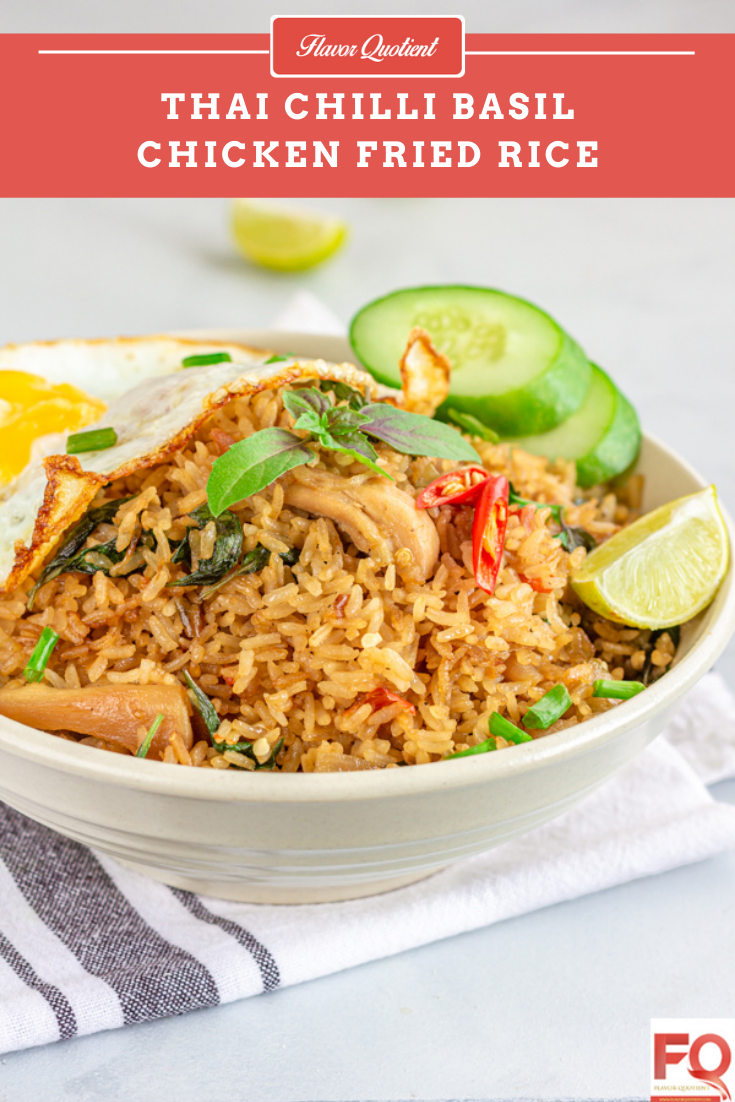
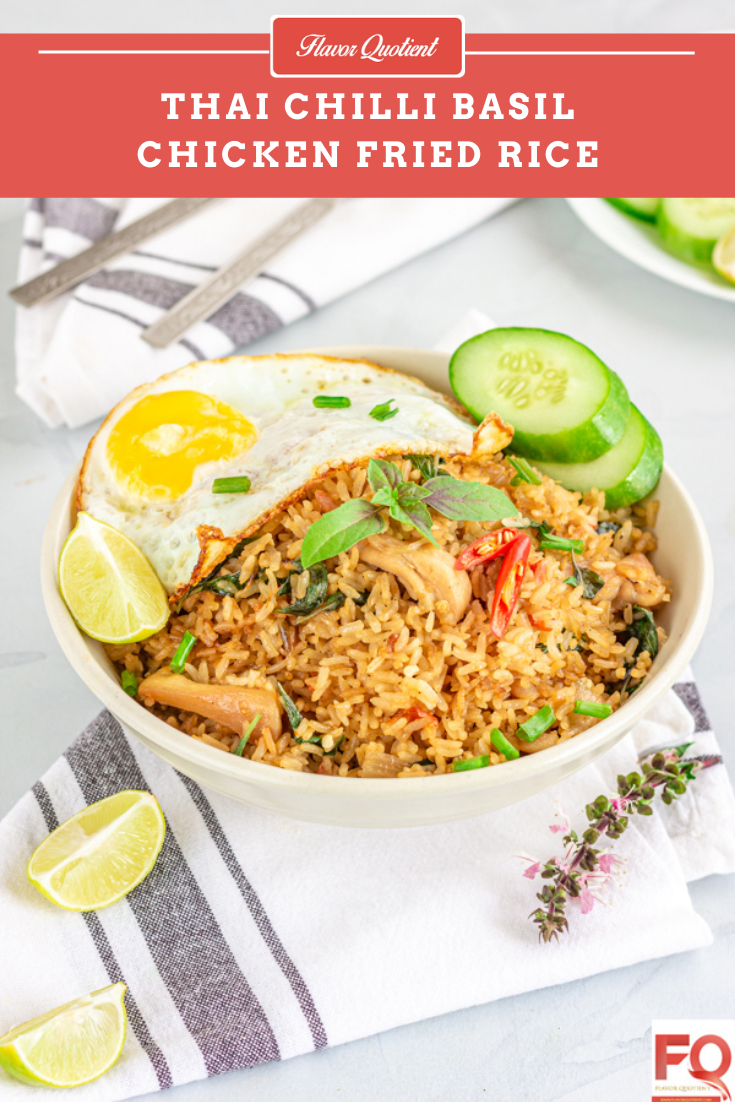
Thai chilli basil fried rice is a classic Thai delicacy and super popular across the world for good reasons! My today’s recipe of Thai chilli basil fried rice with chicken is a must-have in your repertoire!
 Being a Thai food lover, I had to make this classic Thai chilli basil fried rice which is nothing but an explosion of amazing flavors that is hard to forget! I regret not making this classic Thai delicacy earlier simply because this one turned out to be exceptionally tasty.
I made Thai chilli basil fried rice with chicken but I am sure that even the meatless version will be equally crave-worthy. I believe so because the magical ingredient of this Thai chilli basil fried rice is not chicken but the sensationally aromatic fresh Thai basil leaves!
I am lucky to have bountiful of these beautiful Thai basil leaves grown at home thanks to my plant-loving husband which made my homemade Thai chilli basil fried rice even more special with the homegrown basil leaves.
Thai basil is quite different from Italian basil and possesses more sharpness than the Italian sweet basil. Thai basil releases incredible aroma when stir fried with rice on high flame. You need to experience it to believe it.
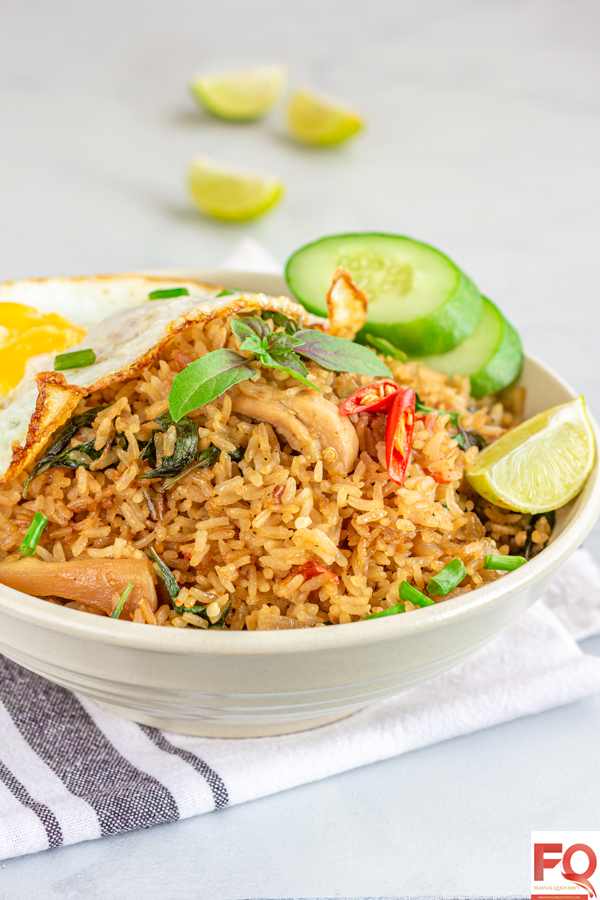 In case you already do not know, my better half is deep into gardening and growing herbs in our own kitchen garden is one of his favorite part of it. Thanks to his dedication, I am lucky to have the freshest of herbs right in my own balcony!
The fresh Thai basil leaves used in this Thai chilli basil fried rice are all from our own garden only which makes this dish extra special! I am not sure if you would get the exact Thai basil leaves in supermarkets here in Bangalore, but you can definitely try growing them at home; they are real fun to have handy any given day!
Thai basil leaves have very strong aroma which is so fresh that it will only tickle your senses but not overwhelm you in any way. They can be used in many Thai dishes like Thai green curry, Thai red curry, Thai massaman curry or many more. These leaves add authentic Thai flavor to any Thai recipe and I am simply in awe of it!
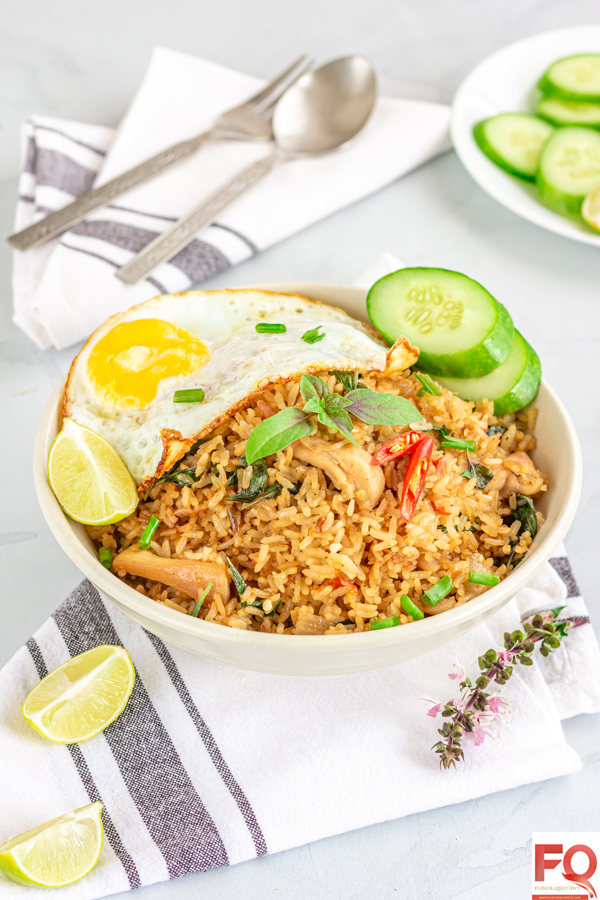 In case you cannot grow your own Thai basil leaves, you can try buying them from your local grocers. Thai basil plants have purple stems and the leaves are somewhat purple in the center. The edges of the leaves are uneven and not smooth like Italian basil leaves.
Whichever way you source your basil leaves from, just know that you are in for a treat when you make this scrumptious Thai chilli basil fried rice. This Thai fried rice is so good that I don’t even need a side dish to enjoy it; it tastes amazing on its own.
As with any other fried rice, try to make this one too with a day-old rice which was chilling in the fridge overnight. That way you can make a fluffy fried rice with all rice grains separated and not a clumpy mess of rice.
If you are anything like me, I’m sure you know what I am talking about in terms of fried rice disasters at home! So, the simple trick to avoid that is to use chilled rice made a night before! Voila!
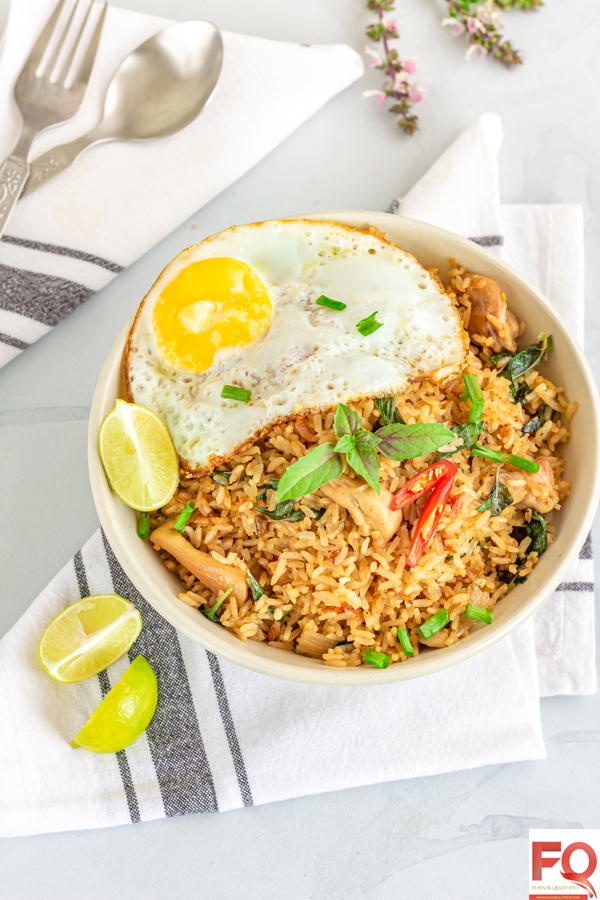 Once you have sorted the rice, there are just couple of things more to procure and then you are good to go with the making of your Thai chilli basil fried rice. The second most important element in a Thai chilli basil fried rice after Thai basil is of course chilli!
Thai fried rice or any Thai recipe for that matter calls for fresh red chillies, but it is little difficult to find fresh red chillies here. So, I sometimes leave few green chillies on their own on my kitchen counter and they turn red after few days.
You can do the same or you can use a fresh green chilli which is as much hot as you can handle. This Thai chilli basil fried rice is quite spicy with a strong flavor which only captivates your senses with all goodness and when you add chicken to it, it becomes a total win-win situation for all carnivorous like us!
If you make this Thai chilli basil fried rice at home, I can bet that you won’t even need to visit any Thai restaurant for relishing authentic Thai delicacy; you can do it right at your home! Enjoy!
- Cooked rice (preferably a day old) – 4 cups
- Garlic – 10 to 12 cloves
- Fresh red chilli – 2
- Fresh Thai basil leaves – 2 cup, tightly packed
- Onion – 1, medium, thinly sliced
- Chicken – 500 gms, boneless & skinless, cut into 2-cm cubes
- Light soy sauce – 2 tsp
- Fish sauce – 2 tbsp
- Oyster sauce – 2 tbsp
- Sugar – 1 tsp
- Vegetable oil – 4 tbsp
- Spring onion to garnish
- Salt and freshly crushed black pepper to taste
- Take the garlic cloves, fresh chillies and a pinch of salt in a mortar & pestle and pound them to a coarse paste. This will bring out maximum flavors.
- In a small bowl mix together soy sauce, fish sauce, oyster sauce and sugar and give a good whisk. Set aside.
- Take the chicken cubes in a bowl and add half a teaspoon each of salt & pepper. Give a good mix.
- Heat a wok until smoking hot. Add 2 tablespoons of oil to it. Tip in the chicken cubes and stir fry on medium heat for few minutes until they turn golden brown on both side and are cooked through. This will take about 6 to 8 minutes. Take out the cooked chicken cubes on a plate and set aside.
- Heat the remaining oil in the same wok. Once the oil is hot, add the sliced onion and cook for a minute on high heat until they turn translucent.
- Then add the garlic & chilli paste and continue stir-frying for a minute more on high heat.
- Next add the chilled rice to the wok and pour in the prepared sauce mixture. Leave the rice undisturbed in the work for couple of minutes. This will ensure that the rice grains crisp up in hot wok.
- Now start stirring the rice so that the sauce evenly coats each of the rice grain. Taste the rice at this point for seasoning and add salt if required.
- Finally add the fresh basil leaves. You don’t need to chop the leaves; they will wilt down as soon as in contact with heat. Give a good mix to distribute the fresh Thai basil evenly within the rice.
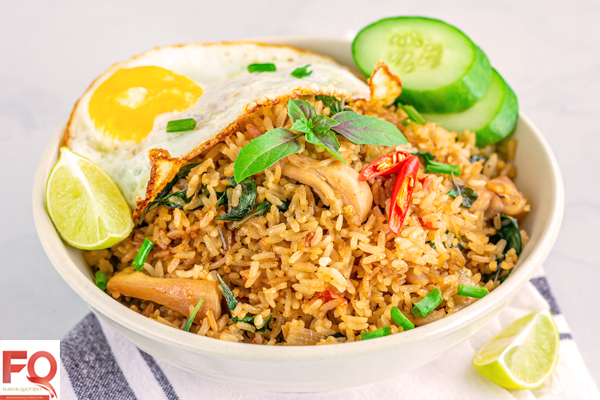
- Also add the cooked chicken cubes and toss the rice for a final mix. Sprinkle freshly chopped spring onion to garnish and serve the Thai chilli basil fried rice with chicken and a sunny side up on the side. Enjoy!


Liked the recipe? Let us know!