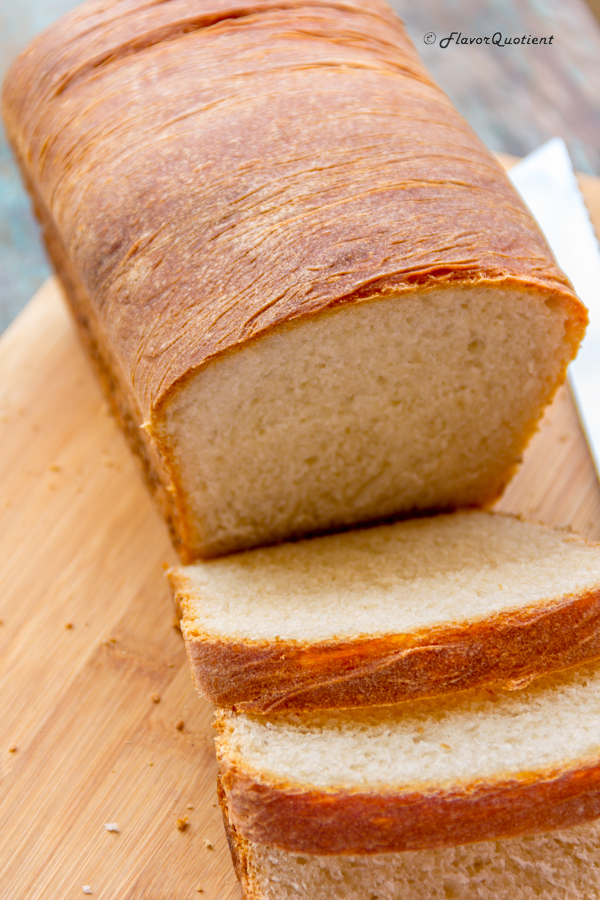
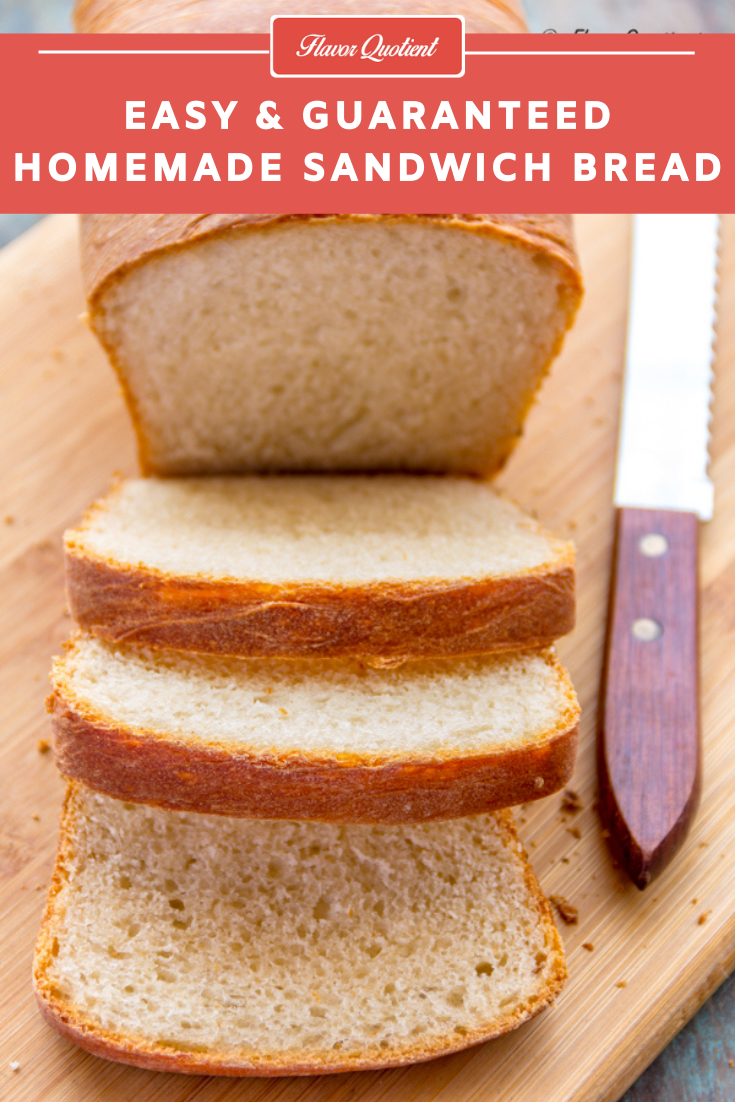
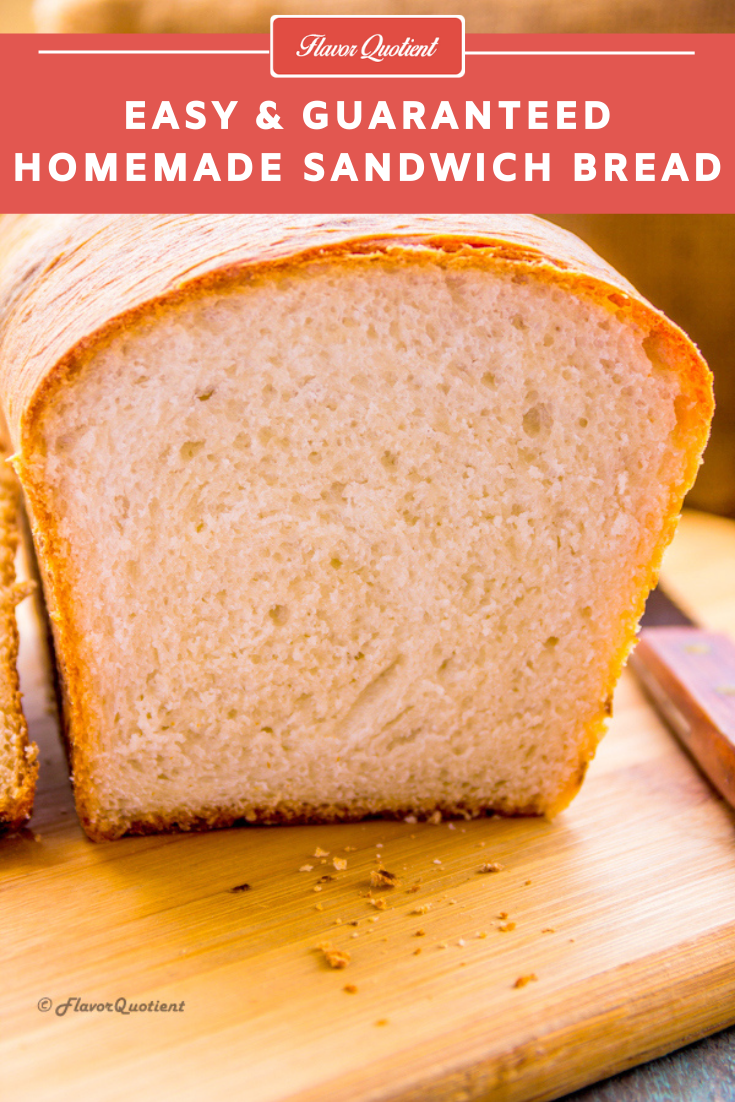
Homemade bread! Can anything sound better than that? And trust me no place will smell better than your house once you start baking this bread at home!
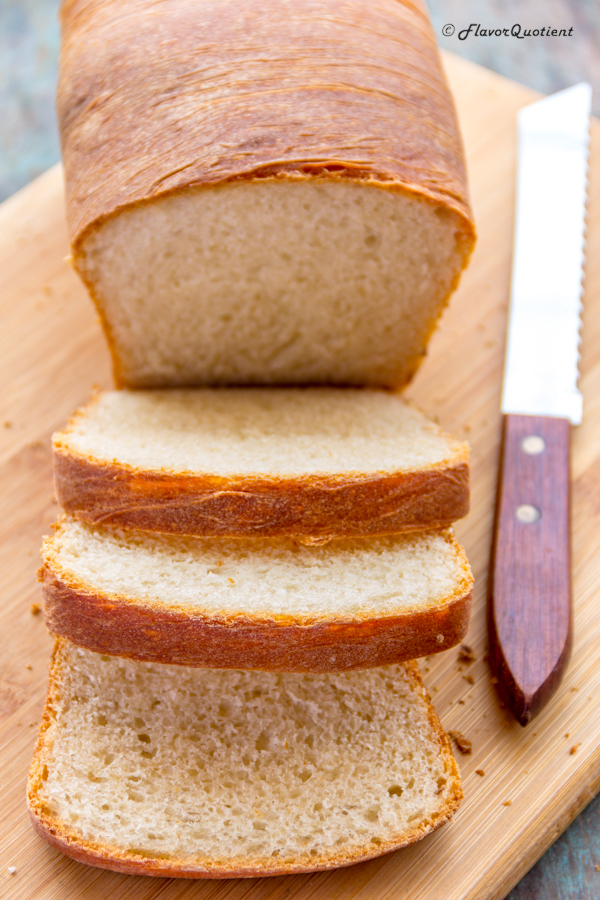 Yes, finally I took the plunge! After long apprehensions, I convinced myself that I can do it right and so I went ahead. And guess what? I succeeded! Yay! Isn’t this a reason enough to celebrate?
Indeed it is! We Indians are not a bread-eating nation and our staples are rice or flatbreads made of wheat flour. Sandwich breads are majorly served as snacks or quick bites.
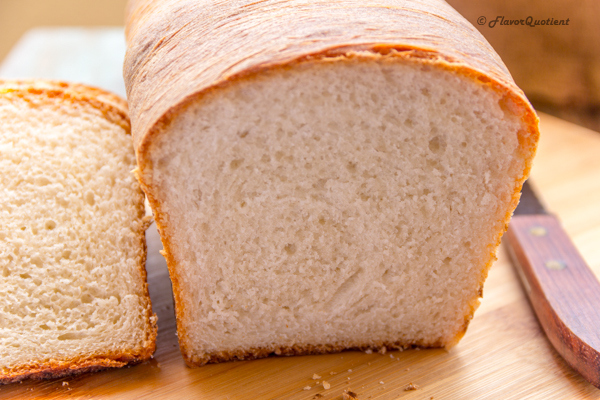
So it indeed is a big thing for me to bake a bread at home! And that too a perfectly fluffy, soft and well-risen bread!
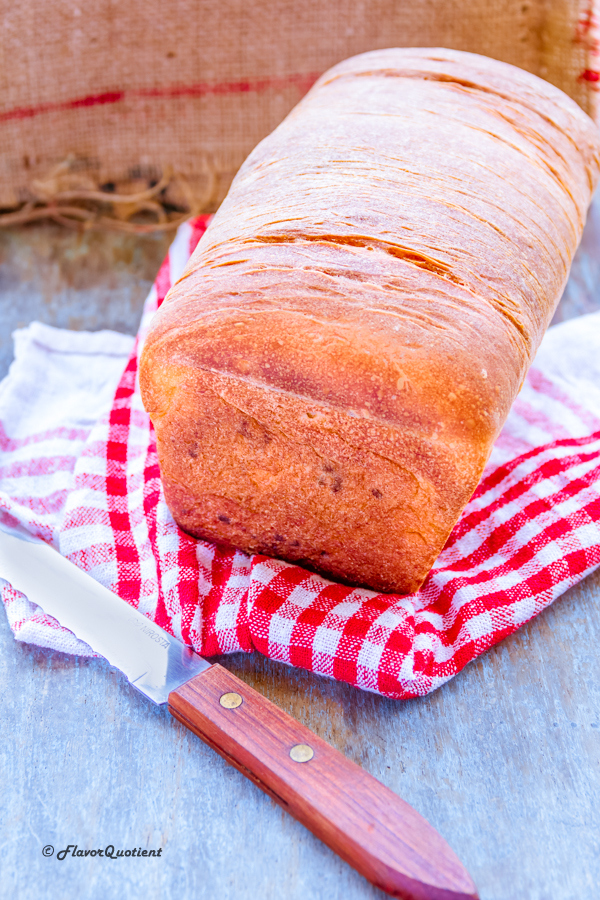
I love baking. Baking of any sort – sweet or savory! Baking makes me happy. I was planning since a long time to bake a bread at home and after one or two misses, I finally churned out my first perfect bread!
I was kind of overwhelmed by the uncountable bread recipes available on net. Finally I derived my own version by doing some mix and match from this and that and nailed it down!
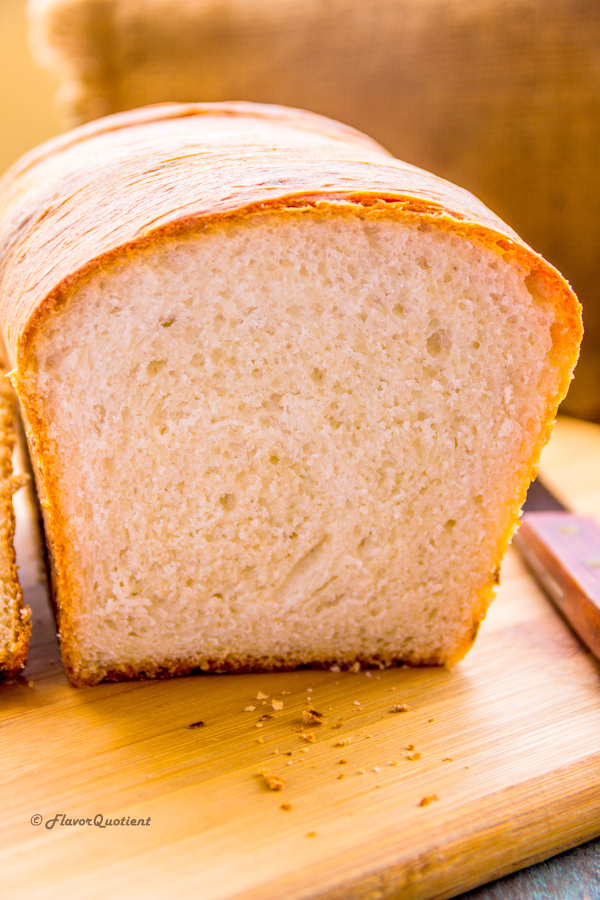 From my experience I have realized that bread-making is not a difficult task at all! If any difficulty is involved then that is in keeping the patience. You just have to give enough time to each step that it demands and you will be all sorted.
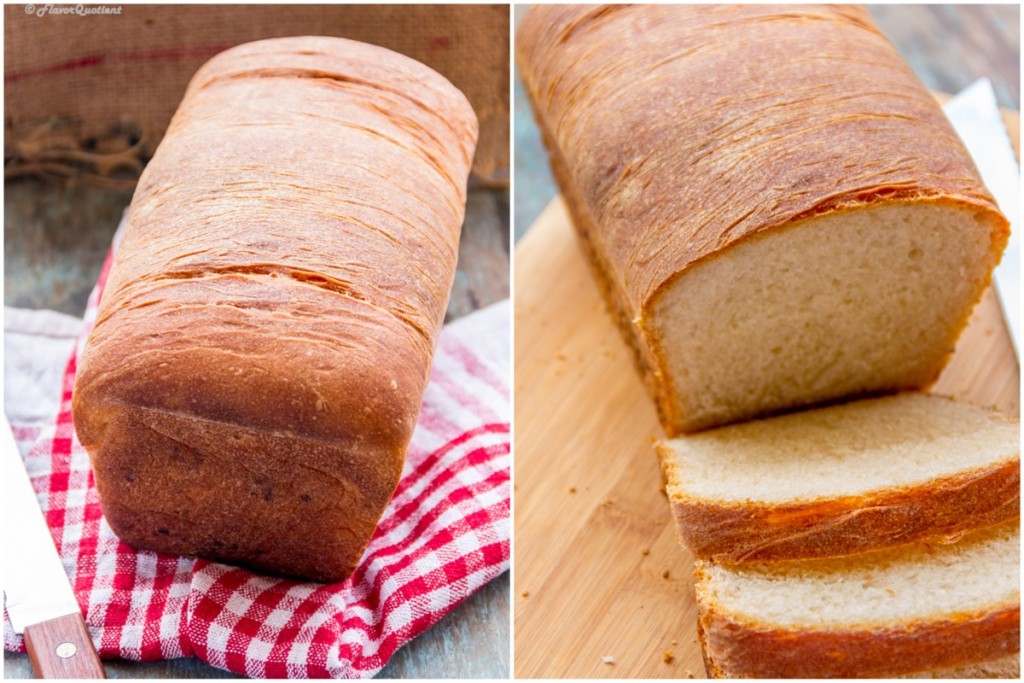 What I meant to say is that you can’t skip or rush any step and expect a perfect bread out of the oven. If the recipe says 15 minutes of kneading by hand then you ought to invest that time. I understand it is tiring but trust me there is no escape unless you use a food processor!
Yes, that’s my savior! And yours too!
 If you want to stay in the bread-baking world for a while then I would highly recommend to get a food processor with kneading capability. This would save tons of work and make this bread baking experience far more pleasurable!
Next thing I would talk about is the yeast. I used active dry yeast in my recipe. You can use fresh or instant yeast too but make sure the yeast is of good quality and alive. Else all your effort is gonna go down the drain. Sorry can’t help it!
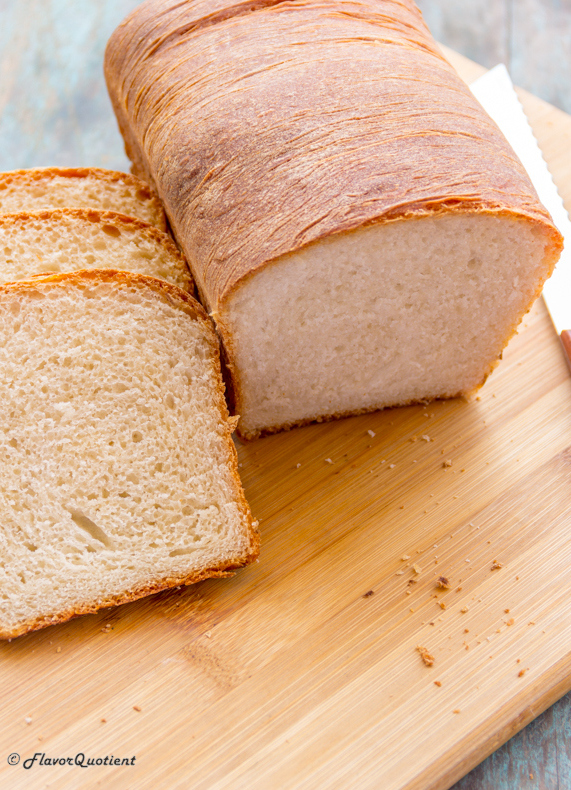 Last important thing to talk about is the resting time of the dough. No matter how impatient you are to start baking your bread, you have to hold your horses for a while! You have to let the bread rise, otherwise nothing gonna happen.
Also make sure to keep the dough covered in a somewhat hot place, like I do by placing it inside a microwave, of course I do not switch the microwave on, but the inside of a microwave is generally hotter than the outside temperature.
If you get these few basic things right no one could stop you from baking the best bread in the world every morning and fill your home with that heavenly aroma!
Loosely adapted from Joanne’s wonderful blog Fifteen Spatulas
- All-purpose flour – 425 gms
- Flavorless vegetable oil (Sunflower/Canola) – 4 tbsp
- Milk – 1 and ¼ cup
- Honey – 2 tbsp
- Active dry yeast – 2 and ¼ tsp
- Salt – 1 & ½ tsp
- In a medium saucepan combine the milk, oil and honey. Put it on low flame and gently heat it up. With an instant read thermometer check the temperature of the milk and as soon as it registers 115 F, remove from heat. Add the yeast to the milk and give a gentle stir. Let the mixture sit for 10 minutes.
- Add the flour into your food processor with the dough hook attachment. Add salt and give a quick pulse.
- Now add the milk mixture to the flour and start mixing them on low speed. Then knead it on medium speed for 5 to 10 minutes. The dough will be quite sticky, so don’t worry about it.
- Take a large glass bowl and smear with vegetable oil all over. Take the dough out from the food processor bowl and put it in the oiled bowl. Smear some oil on top of the dough too to prevent it from forming a crust.
- Now cover the bowl with a cling film and set it aside at some hot place for 2 to 2 & ½ hours and let it rise. I generally put it inside my microwave [of course I am NOT turning on my microwave!] since inside of a microwave is generally hotter than the kitchen.
- After about 2 & ½ hours the dough should have risen and doubled in size.
- Now take a large wooden board and sprinkle some flour on it. You can do it on your kitchen counter too if you have a clean one!
- Spread the bread dough on the floured surface into an 8 inch X 8 inch square approximately. Now starting from one end roll the dough giving it a shape of a wooden log and pinch the seam closed.
- Now spray or butter a loaf pan and place the bread roll seam side down into the pan, pressing the dough gently into the sides of the pan. Cover the loaf with plastic wrap and let it rise for 30 minutes. [Just to be on the same page I had again put it inside microwave (switched-off microwave!)]
- Preheat the oven to 180 degrees C/375 degrees F and place a sheet pan on the lowest shelf of the oven. Add enough boiling water to cover the bottom of the sheet pan. This will make sure that the bread turns out moist and soft.
- Now bake the bread on the shelf above the water for 40-50 minutes until the internal temperature registers 190 to 200 degrees on an instant read thermometer. If the bread gets too brown on top, cover it with a piece of aluminum foil after 15-20 minutes of baking. Let the bread cool completely on a wire rack before slicing it. Enjoy!





Oh wow, I can understand how awesome you are feeling. just like you have won the world marathon race. Isn’t it? I am not able to do baking now. But surely will follow your recipe once I start this. I also dream about baking bread at Home, and till the time I have found recipes are all in oven. Great that you have broken this mind barrier.
Yes! It really felt out of the world when the bread came out of the oven! I am sure you will also fall in love with baking as soon as you start. In case I have confused you somewhere, you do need an oven to bake a bread. I guess a microwave with convection oven may work too but I did it in my good old OTG. Let me know if you have any doubt and I will be happy to help! 🙂
oh ok. So do you make all your cookies and cakes in OTG? I am planning to buy one microwave oven, as I am also fascinated with baking. Can you help me to choose one, which can serve my all purpose?
Yes, I use an OTG for all my baking. Of course I can give you some pointers to help you buy a microwave in which you can bake too.
You have to buy a convection microwave oven with or without grill option. In convection microwave, you will get at least 2 modes, convection mode for baking and microwave mode for reheating or microwaving any food. Also try buying a microwave between 25 to 30 liter as I feel that is the optimum size. I would also recommend to go for the leading brands here which will also ensure good after sales service. Hope this helps. 🙂
Let me know if you have any more question!
Thanks Priyanka, but I have some more query. May be I am sounding annoying, but really I need a guide who can help me to buy a MW oven.
Is OTG and MW different? If yes, which one can solve all my baking, grilling, bread making purpose?
I was looking for LG MJ3283BCG, but not sure if I can make a bread in it. Can you please look into this model, if you get sometime? Please.
Also which brand of OTG are you using?
It’s awesome 🙂
http://www.zigzacmania.com/
Thanks! 🙂