Sometimes your heart craves for simple meals and this basil pesto spaghetti is the best thing you can offer! Pesto spaghetti with homemade basil pesto could be the best thing to make this summer!
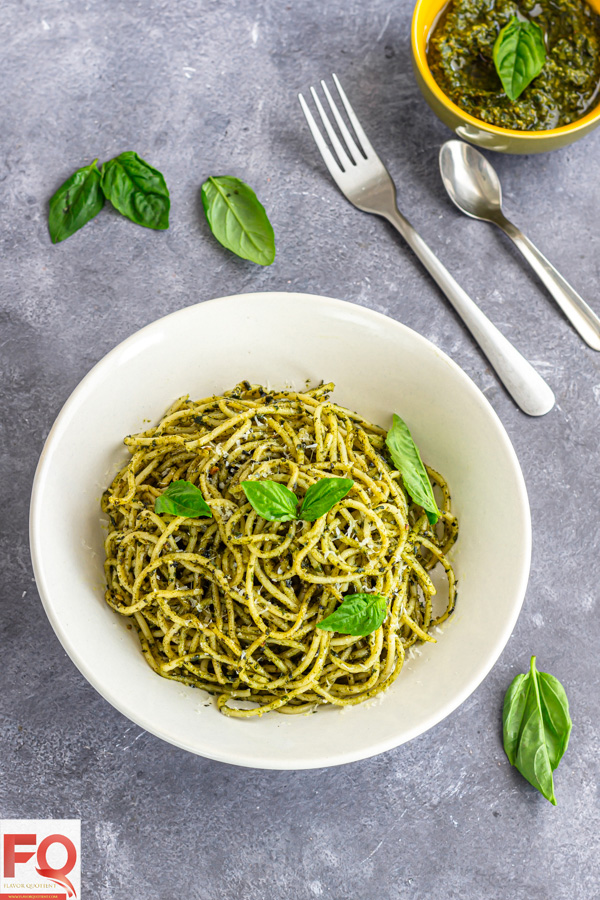 If I have to point out one best thing I learnt thanks to my food blogging then it would be undisputedly basil pesto! I am so much in love with basil pesto that I can put it on everything – sandwich, pasta, chicken and even on my rice!
If you get your hands on fresh Italian basil this summer, just grab them without any second thought. Once you make this basil pesto at home, you will never look back and will be as much in love with this condiment as me!
If you are not much familiar with basil pesto yet, let me share as much details as I can.
What is basil pesto?
Basil pesto is an Italian condiment used extensively in Italian cuisine. You may call it a green sauce, the most popular green sauce ever! Basil pesto is made using Italian basil which is also called sweet basil.
Do not confuse Italian basil with Indian holy basil (a.k.a tulsi) or Thai basil as each of these 3 types of basil leaves has their own characteristic & flavor and cannot be replaced by one another.
This green sauce named basil pesto is made with lots of fresh Italian basil leaves, some kind of nuts (traditionally pine nuts), a hint of garlic and lots of extra virgin olive oil. It may also contain freshly grated Parmesan cheese but quantity depends on your own preference.
In modern days, when we have access to high-tech gadgets like a fancy food processor or good quality blender, making basil pesto at home is just as easy as cake-walk. Traditionally it is made by crushing the ingredients in a mortar and pestle, but I like my food processor version too!
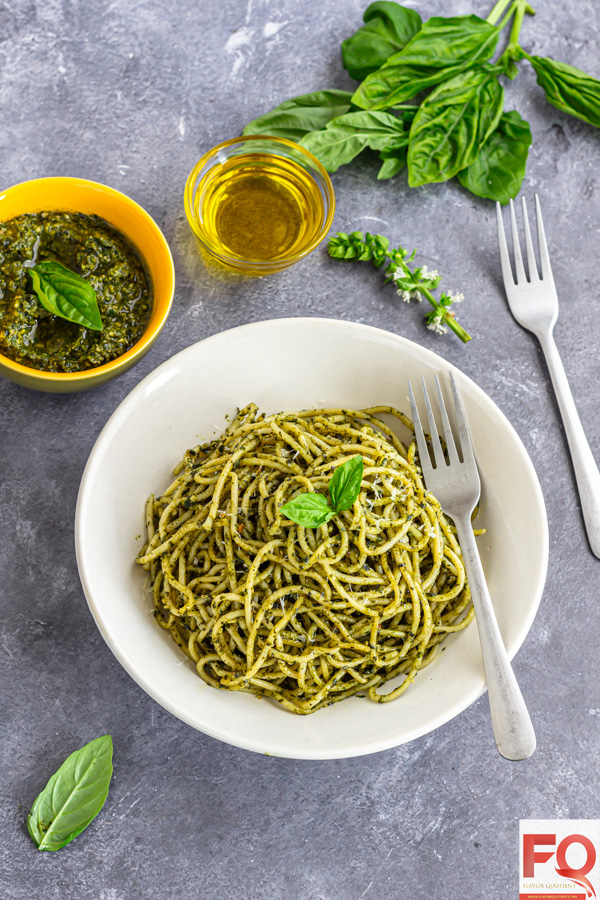
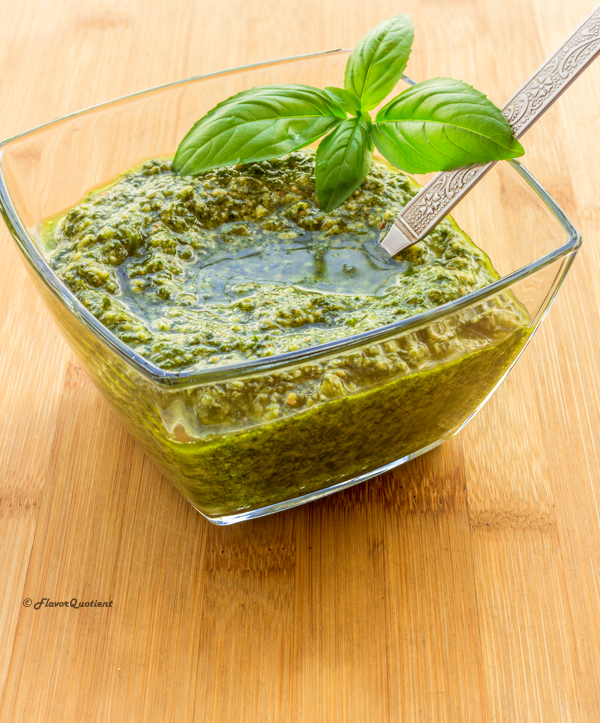 Ingredients for making basil pesto + pesto spaghetti at home
Basil pesto needs just 3 basic ingredients which are easily available in your nearby supermarket, offline or online. Try to source the best quality ingredient to get best results.
Basil: Italian fresh basil leaves are the key ingredient of a good basil pesto. If you buy basil leaves in bulk, try to use them up as soon as possible; the more you keep them in fridge, the more wilted they will become. So use up the fresh basil as soon as you can by making this pesto at home!
Nut: Basil pesto needs a nut to have a body as well as taste. Traditionally pine nuts are used but since it’s not so common in India and you may prefer an easily available alternative, I used cashew nuts this time and it turned out just fantastic. You may also use almonds which I had used earlier and it tastes as good. I prefer to toast the nuts before using.
Extra virgin olive oil: Your olive oil will ultimately decide the final taste of your pesto. Using good quality olive oil is a must. Don’t use any other variety other than extra virgin olive oil, it won’t be good. After trying many brands in India, I have finally stuck on Borges Extra Virgin olive oil. You can give it a try too!
Garlic: A little hint of garlic goes a long way in this basil pesto! You won’t need a lot of garlic, just a clove or two while chopping the basil in your processor and you would be good to go.
Parmesan cheese: To be honest, I don’t add a lot of cheese while making my pesto but I have seen recipes where lots of grated Parmesan is added. I prefer to add the cheese while making pasta, but not in my pesto. Also, do not use the pre-grated cheese as they don’t taste as good; I suggest you get a block of Parmesan cheese and grate it yourself. It also has good shelf life when refrigerated.
Salt & Pepper: Seasoning will be of course as per taste but I recommend to go slow with salt and you will be able to add salt later directly to pasta. Also if you add Parmesan cheese in your pesto, add extra salt very sparingly as Parmesan is quite a salty cheese in itself.
Spaghetti: You can use any pasta of your choice – long pastas like spaghetti, linguine, fettuccini, and tagliatelle work really well, but any short pasta like penne, rigatoni, or farfalle are also equally tasty. Actually, this basil pesto sauce is so versatile that it creates wonder with any type of pasta! I used this spaghetti to make my basil pesto spaghetti today!
 How to make basil pesto?
After you successfully procure all the ingredients, making basil pesto is not even a thing! You just need to pull out your processor and you are good to go!
Step 1: If you don’t get pre-washed basil leaves, then wash them thoroughly and drain the water as much as possible.
Step 2: Attach the chopping blade to your food processor bowl and first add the garlic cloves. Since you are using just a couple of cloves of garlic, it would chop better if you drop them inside after switching on the blades.
Step 3: Now add the washed and semi-dry basil leaves into the processor and process them until finely chopped.
Step 4: Next it’s time to add your nuts. Add the toasted nuts, salt and pepper as per taste and process them until nuts are all chopped. At this stage, you still won’t see the right texture of pesto as we are yet to add the next ingredient!
Step 5: Now comes the most critical ingredient of a pesto – the extra virgin olive oil! Keeping your processor on, you have to drizzle the olive oil from the feeding tube. This way, it will emulsify best.
Step 6: Before calling it a day, make sure to give your pesto a stir using a spatula as sometimes, a few large chunks of nuts are left below the blades and not blended well. Season with salt & pepper and give a final whiz.
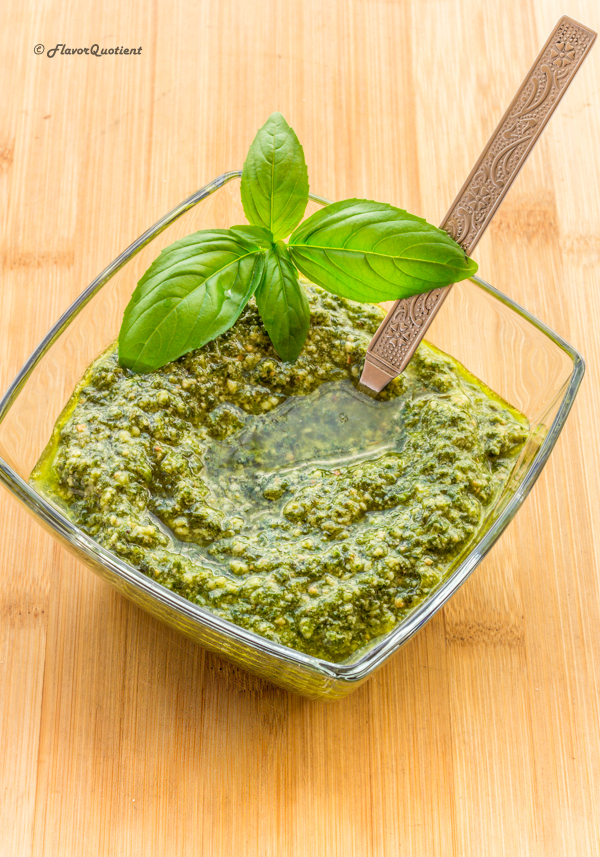
And voila! The best basil pesto is done and you made it all by yourself! In a jiffy! Congratulations! This freezes really well; you can store in refrigerator for 7 days and in freezer for more than a month.
 How to make simple basil pesto spaghetti using this homemade basil pesto?
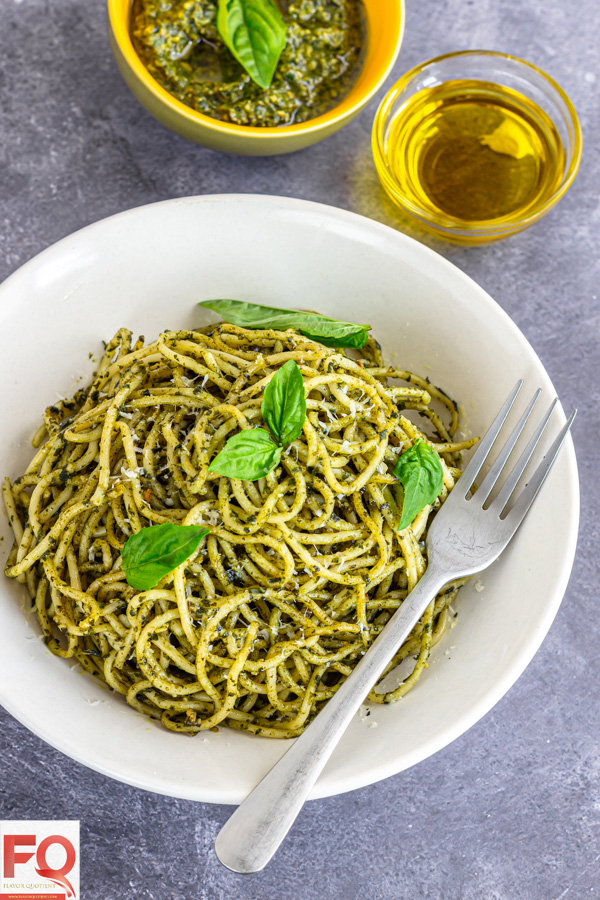
If you have your pesto handy, bringing the pesto spaghetti from kitchen to table will take less than 20 minutes. All you have to do is cook some spaghetti in salted boiling water and while pasta is boiling, warm up a couple of dollops of pesto in a frying pan or sauté pan large enough to hold all the pasta.
When spaghetti is cooked till al-dente, simply transfer it from the cooking water to the pan with warmed pesto. You don’t even need to drain it as little amount of pasta liquid will actually help bind the pesto sauce with each strand of pasta.
In case you need to drain your pasta, make sure to reserve a cup of pasta water. Pasta water is quite starchy, which helps in coating the pesto sauce with the noodles. While tossing your spaghetti with pesto, just add a little pasta water at a time and mix in well.
 How to make basil pesto without a food processor?
You can still make a beautiful pesto even if you don’t have a food processor! You can make it in a blender or even in mortar & pestle. If using a blender, just apply the below tips and you will be sorted.
Tip 1: While using a food processor, you need not chop the basil leaves as the chopping blade does the job nicely. But when doing the same in a blender, you need to chop the leaves; otherwise they won’t get broken down into tiny pieces. This is simply because you are not adding any liquid to your blender while making pesto and without liquid, blender does not work as efficiently. So chop or tear the leaves into small pieces before adding to your blender.
Tip 2: You will need to give the pesto sauce a stir quite frequently in between blending to ensure even mixing. Since the food processor jar has a large area inside, it mixes all the ingredients evenly without much effort, but that’s not the case with a blender jar. So scrap the pesto using a spatula every few seconds.
 Other delicious ways to use homemade basil pesto
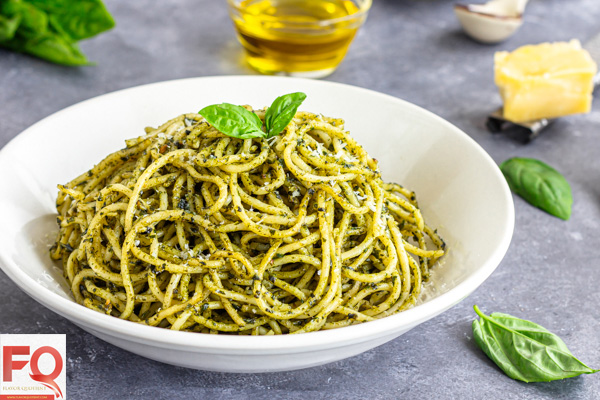
There are multiple ways to use basil pesto. This simple pesto pasta is just the basic one that you can amp up by adding sautéed chicken cubes or any steamed veggie of your choice.
Check out my pesto pasta recipes with different variations:
- Basil Pesto Pasta with Bocconcini and Roasted Cherry Tomatoes
- Pesto Shrimp Spaghetti
- Best Ever Chicken Pesto Pasta
Not fond of pasta? Not to worry! Check out my other delicious ways to enjoy basil pesto:
You can also make pesto chicken sandwich, use it as a dip or roast veggies with it. Use of this magic sauce is only limited by your imagination as possibilities are literally endless!
- Fresh Italian basil leaves - 2 cups, tightly packed
- Raw whole cashew - 15 to 18, toasted (or ¼ cup pine nuts)
- Garlic - 2 cloves
- Extra virgin olive oil - ½ cup
- Salt and pepper to taste
- Parmesan cheese (optional) - ¼ cup, grated
- Spaghetti - 200 gms
- First chop the garlic cloves in your food processor.
- Then add all the basil leaves to the processor and process until all the leaves are finely chopped.
- Now add the toasted cashew or the nuts you are using. Process them until broken into tiny pieces.
- Now start pouring the olive oil through the feeding tube keeping the processor on. Stop in between, open the lid of the processor and give a stir using a spatula.
- Process until all the oil is incorporated. You may increase or decrease (I won't recommend to decrease though!) the olive oil as per your preference.
- Season with salt & pepper and add the Parmesan cheese if using. Process one final time for 5 seconds and you are done with basil pesto.
- Transfer the basil pesto to an airtight jar and reserve upto 7 days in the refrigerator and a month in the freezer.
- To make the pesto pasta, cook the spaghetti in salted boiling water as per packet instructions or till al-dente. While you are draining the pasta, make sure to reserve a cup of pasta water.
- Heat a skillet and add about ¼ cup of basil pesto in it. Once the pesto warms up, add cooked spaghetti and start mixing it with pesto.
- Add little pasta water to ease the mixing of pesto and spaghetti. Don't worry, your pesto pasta won't be watery. Pasta will soak up all the water leaving you a crispy pesto pasta.
- You can add little more pesto and mix it in. The amount of pesto totally depends on your liking. I load up a lot of pesto on my pasta but a ratio of ¼ cup of pesto per 2 servings should be good enough, but that's just a basic guideline.
- Pair up your basil pesto spaghetti with a summer friendly grilled chicken and enjoy!





Liked the recipe? Let us know!