The super-popular restaurant style chilli chicken can never go wrong; especially with this fail-proof recipe! This Indo-Chinese style chilli chicken is allegedly the most ordered dish in any Chinese restaurant across India!
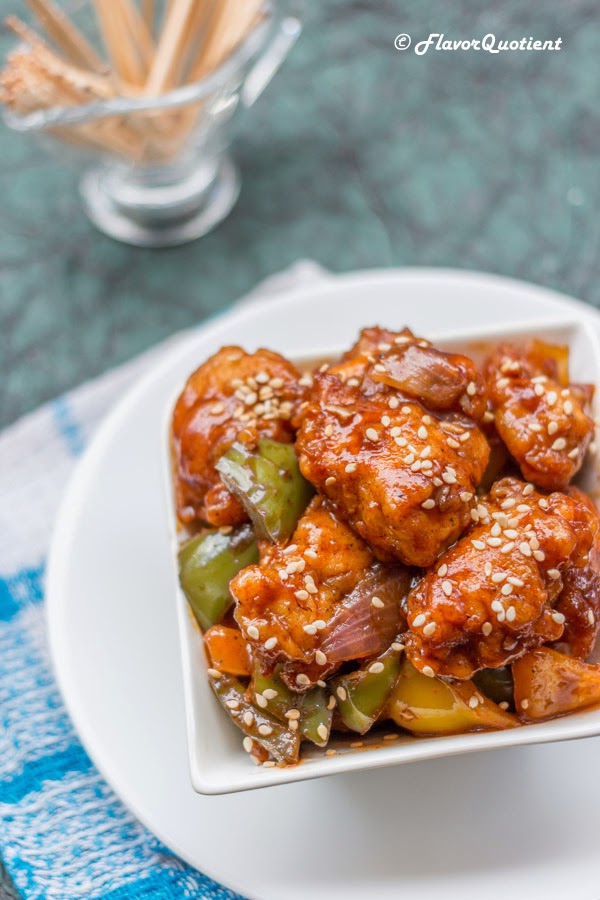 If I am not wrong, chilli chicken will be voted unanimously as most popular chicken dish in India! Chilli chicken is sold at all kinds of Chinese take-aways in every nook and corner of any Indian city – big or small and it was my best bet while eating out when I was little.
This chilli chicken is not only a recipe for me but a dish full of nostalgia. I used to love the combination of chilli chicken with fried rice and it was the only thing I demanded to eat whenever I was allowed to eat out during my childhood.
So, while making this chilli chicken at home, I was transported to my growing up days when I never could have imagined that I will be making it myself at home!
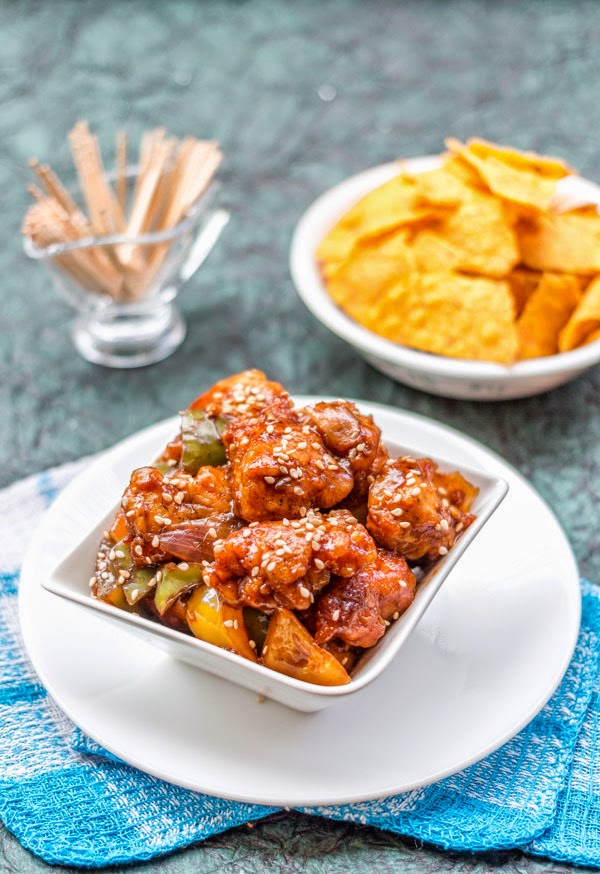 No matter how much you love your favorite restaurant’s chilli chicken, trust me, my homemade chilli chicken tastes absolutely like your favorite Chinese take-away menu.
Making restaurant style chilli chicken at home does not take all the time + effort of the world and still it produces great result every time! I am sure that chilli chicken has as many versions as one could ever imagine and every restaurant adds their own twist to it.
I am sure you too have your own customized version of chilli chicken and I would love to know that. I am sharing some tips & tricks here today which I apply to make the juiciest chilli chicken possible and I hope it will be helpful for you guys too!
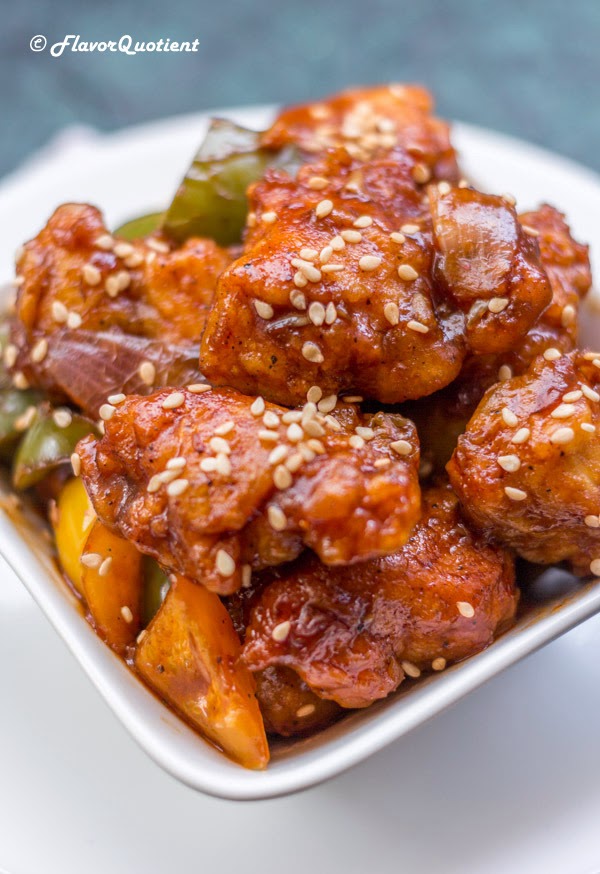 To make your homemade chilli chicken as tender and juicy as the restaurant version, you need to take one extra step but trust me, this effort is completely worth it.
What I have done here to make sure that the chicken cubes remain succulent & moist after cooking is brining it in a solution of cold water and vinegar. This brining technique helps tenderize the chicken pieces without any chemical ingestion.
The vinegar breaks into the fiber of the chicken which lets the flavors seep deep into the meat in later steps. Do try this trick at least once and see the difference for yourself. I am sure you will thank me later for this.
Do you have any special trick on how to keep chicken moist and tender after making your chilli chicken? Do share it in the comment section below!
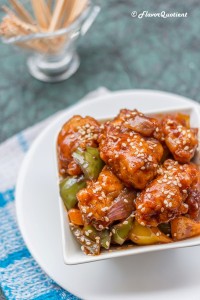
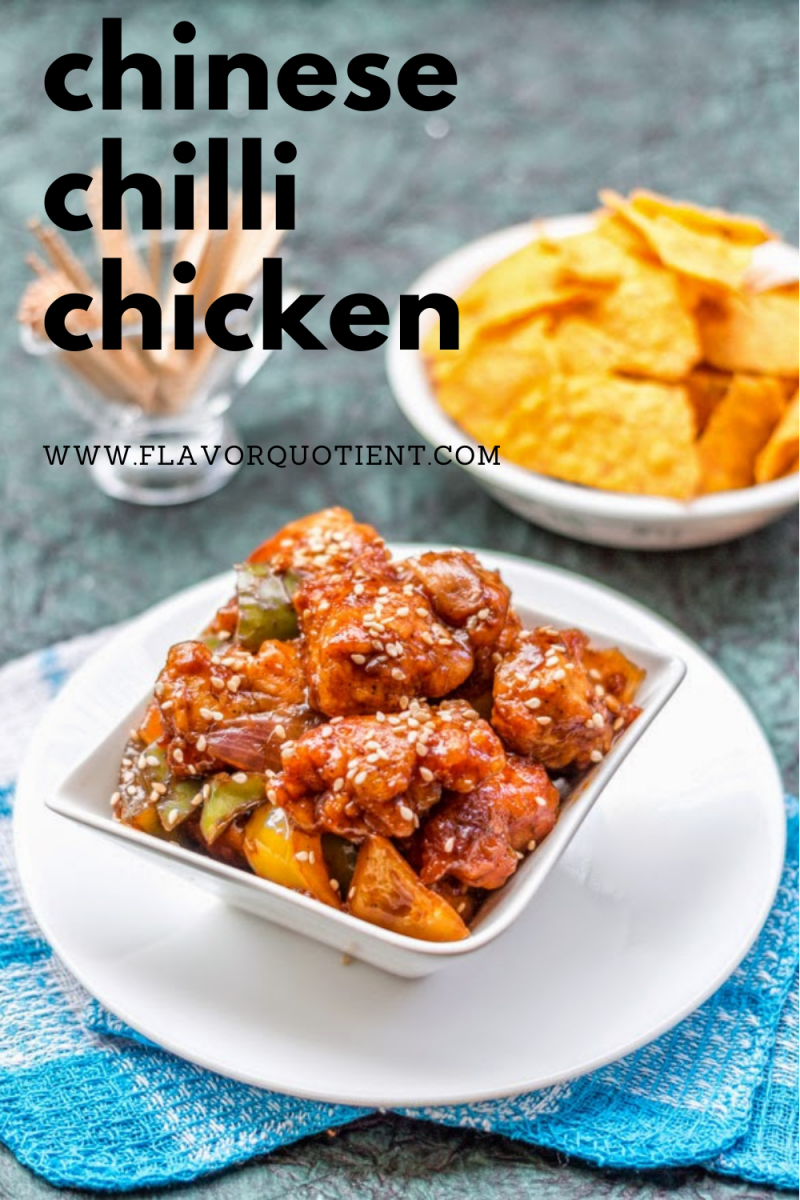
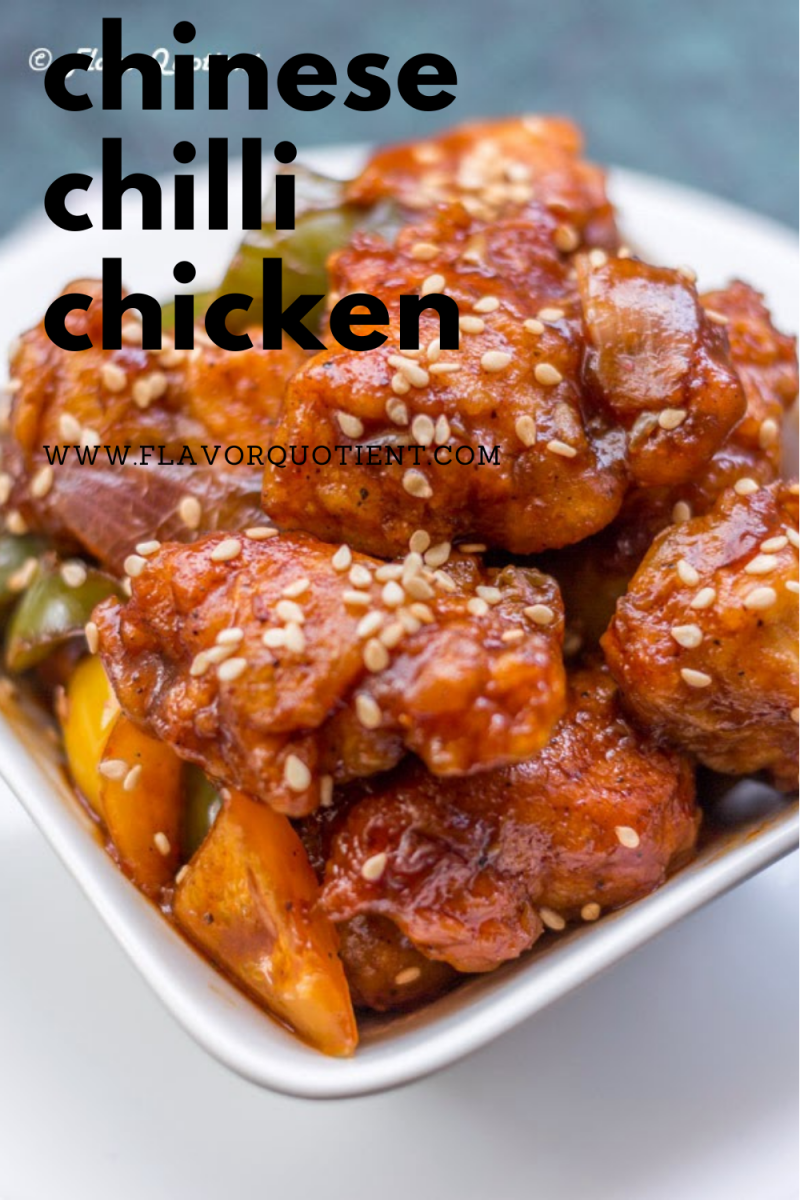
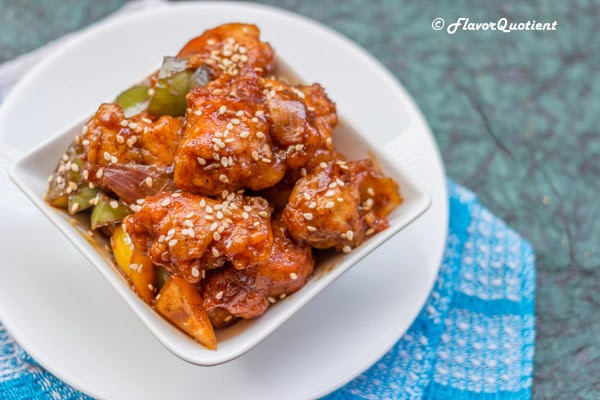 Now have a look at the chicken pieces in the pictures; aren’t they looking absolutely delicious? Tell me honestly! I made this chilli chicken a week ago and now while writing this article, I am again craving for them! I wish I could savor some of them right now!
Nowadays I like this restaurant style chilli chicken best as an appetizer contrary to my childhood preference and like the sauce to be just coating the chicken cubes and not too runny. But this chilli chicken with gravy goes really well with Chinese fried rice as well.
So, if you decide to serve it with rice, you can increase the amount of water a bit to keep a little more sauce at the end. Do give this a try and keep visiting my space for more exciting recipes! Seeya soon!
- Skinless Chicken breast – 500 gms
- Oil for deep frying and for sauce
- Cold water – 1 cup
- White wine vinegar – 1 tsp
- Sugar – 1 tsp
- Salt – ½ tsp
- Ginger-garlic paste – 1 & ½ tbsp
- Black pepper powder – ½ tsp
- All purpose flour (Maida) – 1 cup
- Cornflour – ½ cup
- Refined vegetable oil – 4 tbsp
- Baking powder – ¼ tsp
- Salt – ½ tsp
- Water as required
- Green onions – 5 to 6 [I didn't have it handy, so I skipped it!]
- Yellow bell pepper – 1, small, cut into triangles
- Green bell pepper – 1, small, cut into triangles
- Onion – 1, medium, cut into squares and each scales separated
- Ginger – 1 inch piece, chopped very finely or grated
- Garlic – 10 to 12 cloves, minced
- Dry red chilli – 2
- Dark soy sauce – 5 tbsp
- Tomato ketchup – 3 tbsp
- Red or green chilli sauce – 3 tbsp or more if you like more heat
- Sugar – 1 tsp
- Black pepper powder – 1 tsp
- Salt to taste
- Cornflour – 2 tsp
- Water as required
- Cut the chicken breast lengthwise into long strips. Then cut each strips into bite-sized pieces keeping your knife at 45 degree angle.
- Mix the brining ingredients together – salt, sugar, ginger-garlic paste, black pepper powder, white wine vinegar and water. Add cut chicken into it and keep refrigerated for 1.5 to 2 hours. This brining process makes the chicken extremely tender and juicy after cooking.
- After 2 hours, prepare the batter for the chicken. Mix all-purpose flour, cornflour, baking powder, salt and oil. Mix well and then add enough water to make a thick batter. Don’t make it too runny; the batter should coat the chicken very well.
- Take the chicken out from the brining solution and add to the batter.
- Heat enough oil in a deep frying skillet and let the oil smoke. [High smoking point oils like canola or sunflower oil work best for this recipe.]
- Take each chicken piece out from the batter and tip into the hot oil. Do not crowd the skillet too much as that would bring down the temperature of the oil making the chicken soggy.
- Fry the chicken pieces in batches until very lightly browned. Take them out on a kitchen towel. We will fry these chicken pieces again till done. Double frying makes the chicken very moist and juicy.
- Rest the chicken for 15 minutes after first frying. After 15 minutes, deep fry the chicken pieces again until golden brown and chicken is cooked through. To check if the chicken is properly cooked, cut a piece of chicken and check if any traces of pink are left. If not, chicken is done.
- To prepare the sauce, heat another wok and add 2 tablespoons of vegetable oil.
- Add the dry red chilies, minced ginger, chopped garlic and the chopped white part of the green onions, if using. Sauté on high flame.
- Tip in the chopped bell peppers and onions. Cook them until soft.
- In the meantime, prepare a slurry by mixing the cornflour with 2 tablespoons of water and set aside.
- Once the bell peppers and onions are nice and soft, add the cornflour slurry. Stir to mix well.
- Next add the dark soy sauce, chilli sauce, tomato ketch up and keep stirring. Add a cup of water and keep sautéing on high heat.
- Add sugar, salt and black pepper powder. Mix well. The sauce would have thickened by now.
- When the sauce reaches your desired consistency, turn the flame off. Let it sit for 5 minutes so that the steam escapes.
- Now add the fried chicken and toss the wok to coat all the chicken pieces well with the sauce.
- Transfer to a serving bowl and garnish with the green portion of the green onions. I garnished with sesame seeds since green onions were missing in my pantry.
- Serve your yummy chilli chicken as a delicious appetizer or with Chinese fried rice! Enjoy!




Tried this recipe yesterday and this came out really yummy. I usually mess up with this apparently simple dish. Either it becomes too thick or too runny, too salty or too sour. But this time after following the recipe to the tee I managed to present a perfect bowl of Chilli Chicken the table. Kids loved it and am gonna definitely make this again. Thanks!
Thank you so much for your feedback! We love it when our recipe delights our readers and their families! Keep visiting! 🙂