Ready to turn your home into a bakery? Then bake this easy spectacular dinner rolls at home and mesmerize in the world’s best aroma ever – the baking aroma!
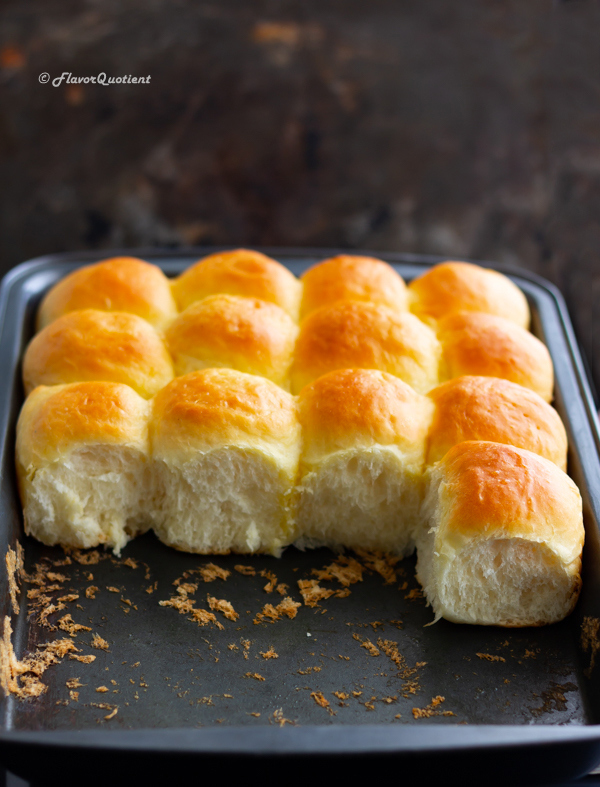 Well I could finally break-in! Yes, my jinx of not able to bake bread at home has finally broken, more prominently after my successful homemade Buffalo chicken pizza!
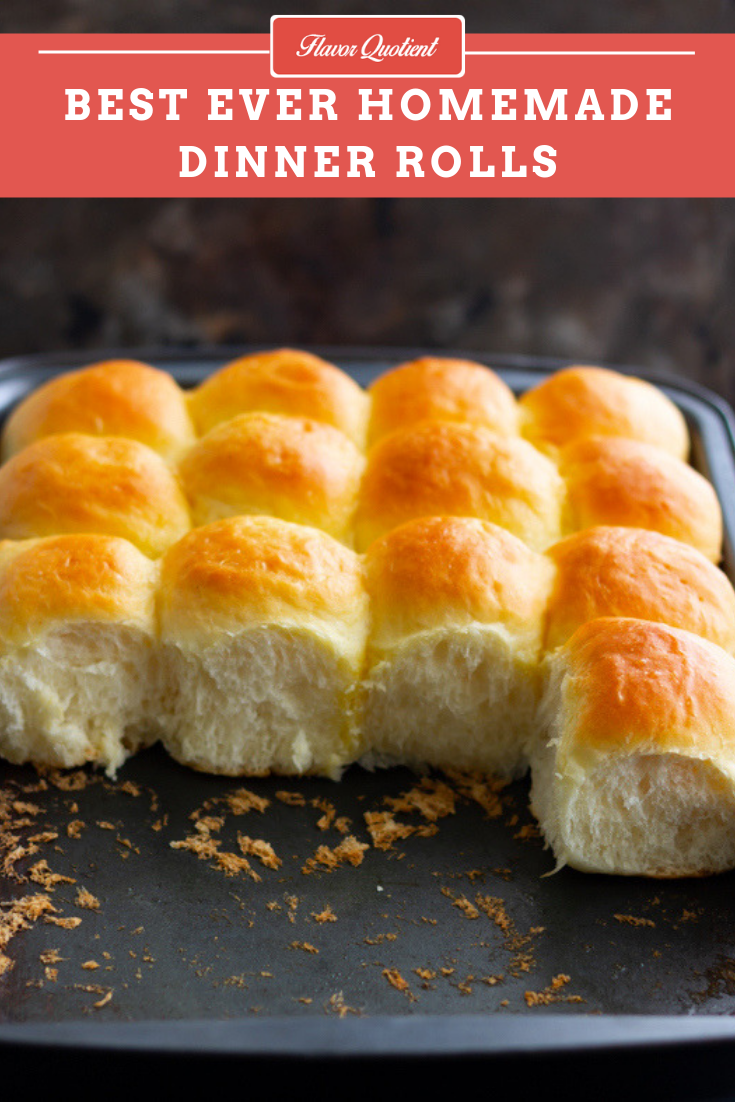
And today I am here to share my easy fail-proof recipe of homemade dinner rolls! Take this from me – if I can make such gorgeous dinner rolls at home, anybody can! The baking bug has bite me real hard this time and I can’t stop thinking of what to bake next!
These dinner rolls which you are seeing here belong to my second batch of dinner-roll-spree! The first batch was a trial and turned out quite a success; hence the second batch with video and photos!
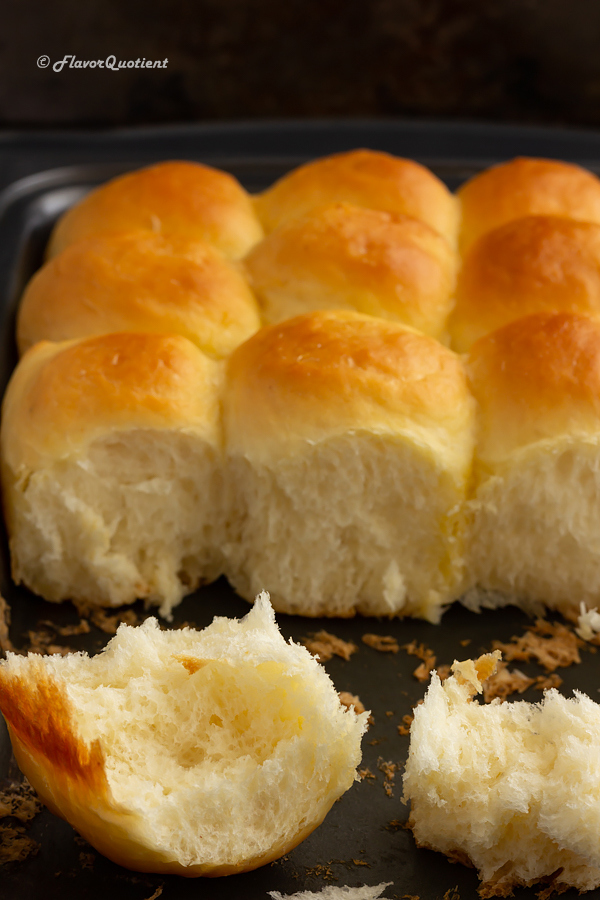 I always used to be intimidated with bread baking; more so because I do not own a stand mixer and I have kept believing that the right amount of kneading can’t be done without a machine.
So, I always pushed my inner desire of baking bread at home away. But after a point, desires do take over and pushes you out of your comfort zone and that’s exactly what happened with me. I decided to give it a shot and it worked!
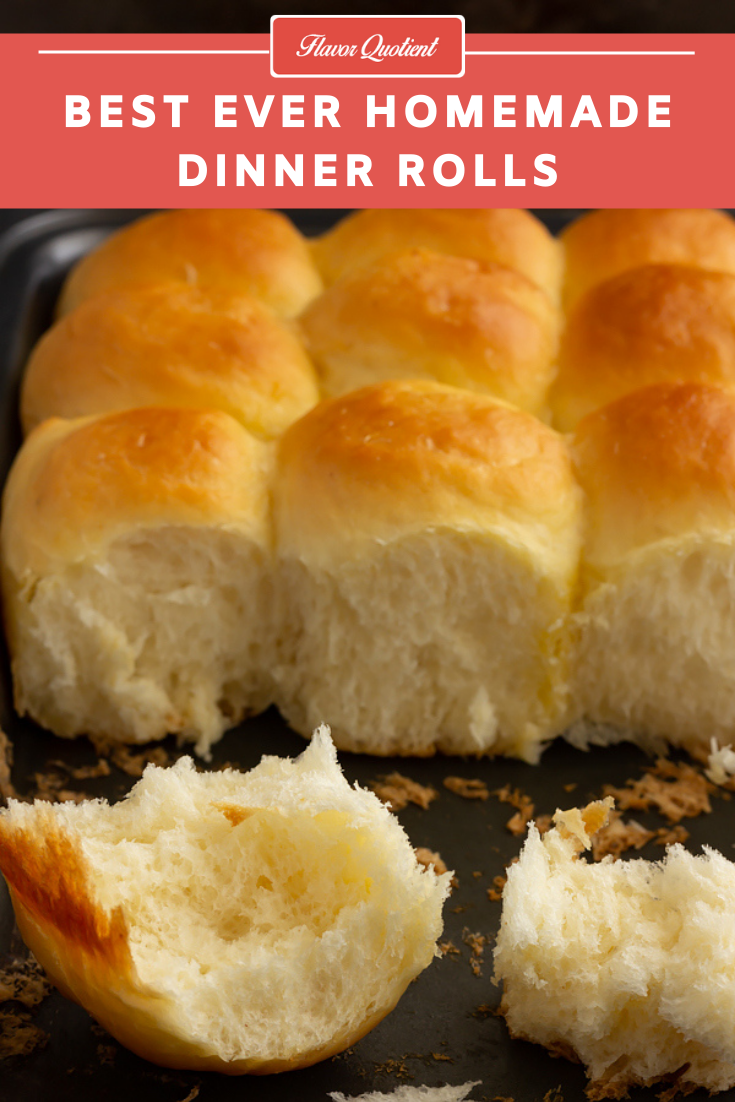
Like a magic! My very first batch of dinner rolls were quite good too but with little tweaking, my second batch turned out to be super-perfect! Trust me, it is really easy to bake these golden dinner rolls at home without a machine only if you trust your good old hands!
 My major challenge towards succeeding in bread baking at home was to get my hands on the right kind of yeast. The regular yeast available in supermarkets in India are all non-functional and trust me, I am stating this from my experience.
The best yeast would be available from a bakery (if they are kind enough to share some of their yeast with you) or from a baking ingredients supplier and I chose the second path which finally led me to success.
If your yeast is of good quality and you have not goofed up the kneading, then there is no way that anybody can stop you from producing the world’s softest, fluffiest and moistest dinner rolls in your own cozy kitchen!
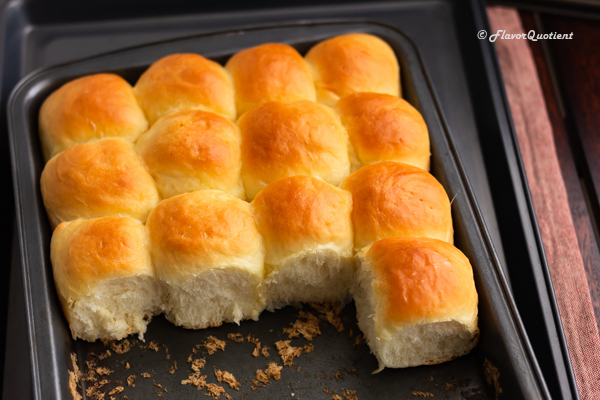 As I have mentioned before, I guess multiple times, that baking is therapeutic; but you won’t agree with it unless you have the first-hand experience. If you own an oven but haven’t used it yet for bread baking, I would earnestly urge you to start from today itself!
You will fall in love with the whole process of baking and also with yourself. When you would pull out this tray of golden and fluffy dinner rolls from the oven, you will be impressed with yourself and that feeling is really something to live for!
My bread baking marathon has started and I have no intention to stop soon – so keep watching this space for more variety of homemade breads. For now, do take a look at my homemade sandwich bread and let me know your opinion on it!

- Whole milk – 240 ml / 1 cup
- Active dry yeast – 1 tbsp
- Sugar – 2 tbsp
- All-purpose flour – 400 gms / 3 & ¼ cups
- Salt – 1 tsp
- Egg – 1
- Unsalted butter – 50 gms / 3 tbsp, softened
- Melted butter – 2 tbsp
- Take the whole milk in a microwave safe measuring cup and warm it to 110 F – 115 F. It should feel warm to touch but not too hot.
- Add the active dry yeast and 1 tablespoon of sugar to the warm milk and give a quick stir. Let the milk sit for 5 minutes until the yeast becomes frothy.
- Take the all-purpose flour in a large bowl and add salt, sugar and egg to it. Stir it with a spatula to give a good mix.
- Then make a well in the middle of the bowl and pour the milk-yeast mixture in between. Also add the softened unsalted butter to it.
- Now start mixing the dry and wet ingredients with the spatula until they come together. Once the dough starts to form, scrape all the flour from spatula and start kneading the dough with hand. Knead the dough for about 5 minutes until it becomes smooth and supple. It will still remain somewhat sticky but will look quite smooth.
- Drizzle about a tablespoon of olive oil into the bowl and coat the dough with oil on all sides. Then let the dough rest in that bowl, covered with a plastic wrap & preferably in a warm spot, for 90 minutes or until the dough is risen and doubled in size. This is called proofing.
- During the proofing time, prepare a 9x13 baking dish by lining it with parchment paper. Set it aside.
- Once the dough is appropriately proofed, un-wrap and degas the dough. Dust the work-surface with little flour and place the dough on it.
- Shape the dough in a long log and cut out 15 portions of dinner rolls as shown in the video. Shape each portion into dinner rolls and place it on the prepared baking dish leaving some gap between 2 rolls.
- Once all the rolls are shaped and arranged, cover the baking dish with a greased plastic wrap to avoid sticking.
- Again, proof the shaped dinner rolls for another 1 hour or until they become double in size. While the second proofing is in progress, preheat your oven to 190 C / 375 F and place the wire rack at lowest level.
- Bake the proofed dinner rolls for about 15-20 minutes or until the top of the dinner rolls turn golden brown.
- Remove the golden dinner rolls from oven and brush the top with melted butter. Serve the rolls warm with butter. Enjoy!





Love these baked goods 🙂
Очень просто и наверное вкусно. Обязательно попробую приготовить.
Translation: “Very simple and probably delicious. I’ll definitely try to cook.”
Useful post… very nice… i really like your blog…